Guides & Tutorials
Transform Shipping Rates at the Edge with Next.js Advanced Middleware
Working with shipping rates can be tricky in online stores, where not only does your team need to make sure you won't lose money with the rates themselves, but that your customers are seeing the right rate for their location. How can we use Netlify's Next.js Advanced Middleware to deliver geography-based shipping rates to our visitors?
Managing location-based applications
While not every web app needs to consider location when building an experience, online stores have very specific needs to make sure a variety of points are accurate depending on where the visitor comes from.
A few of these include:
- Product Availability
- Shipping Rates
- Taxes
Depending on the location, stores may simply not be allowed to ship products of a certain origin, where similarly, items may be charged heavier taxes due to that origin or other circumstances.
But we're going to focus on Shipping Rates, where part of the sell of products in your store is not only the cost of the product, but how much it will take to ship them.
If it's a reasonable number (especially free), you want to promote that throughout your site, accurate to the location, which is what we'll work on here.
Transform Content with Next.js Advanced Middleware on Netlify
We have a few options for how we can do this, where we could use server-side rendering by taking advantage of Netlify Functions or making a clientside request, again with Functions, but inside the browser.
Or, we can take the load off the browser and avoiding a full render at request time sticking with our existing static web app, rewriting the request itself to make sure we're displaying the right rate depending on where our visitor is located.
To do this, we can use Next.js Advanced Middleware through Netlify's Next.js Runtime, where we can intercept the page request at the edge, find out what country our visitor is from, and inject accurate shipping information.
What are we going to build?
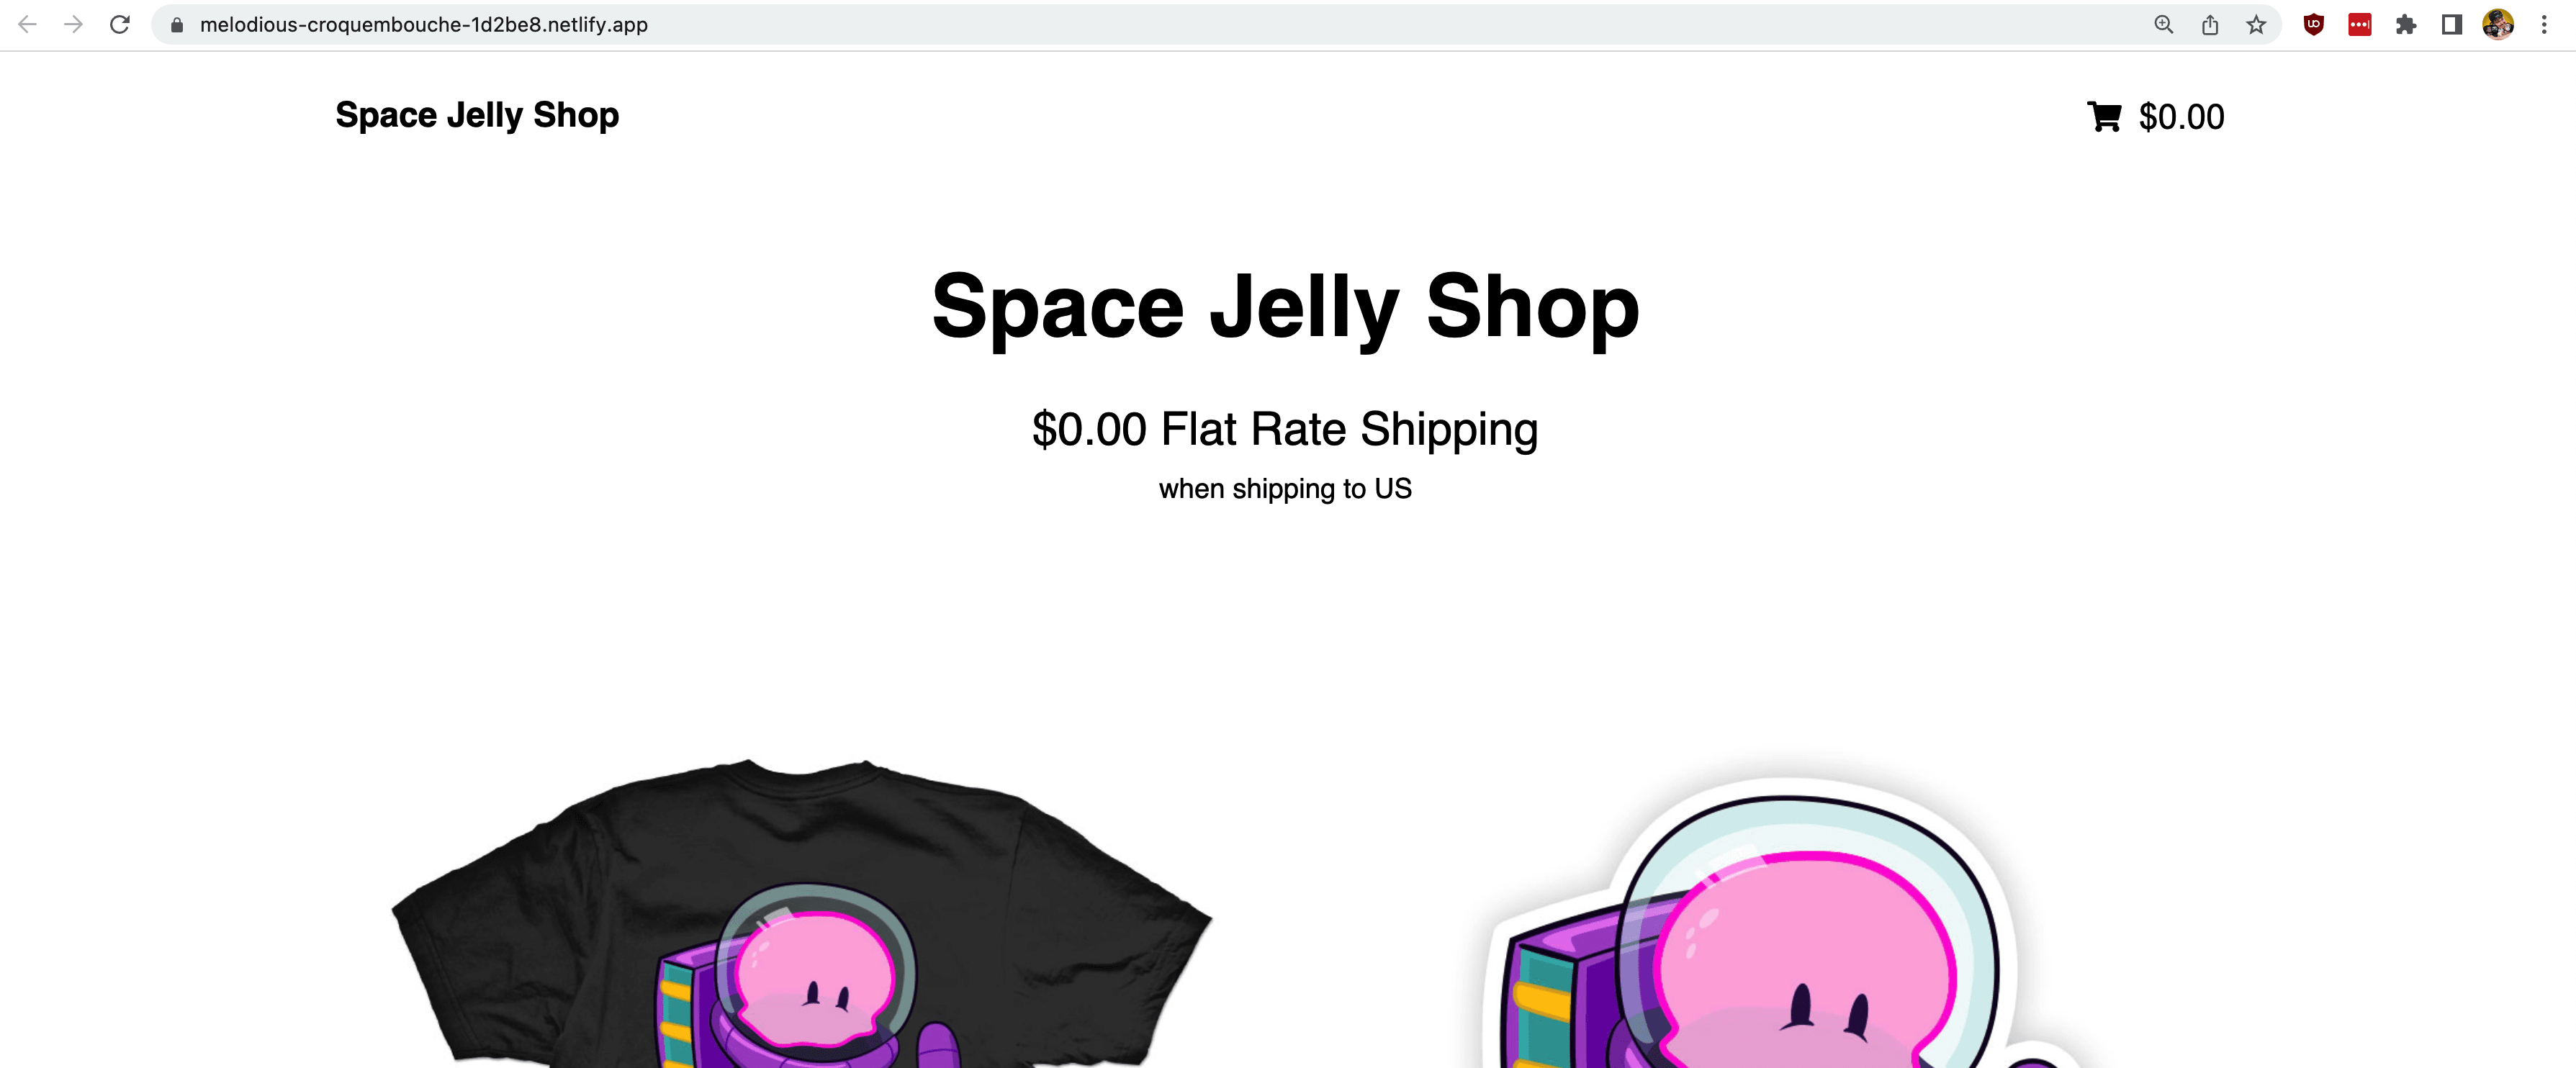
In order to test all of this out, we're going to spin up a new Next.js application from an existing Next.js ecommerce starter template that will give us a simple-looking online store.
Once we're up and running, we're going to see how we can first capture our visitors location, and use that to pick out the right rate to display.
Step 0: Create a new Next.js app from a demo starter
We’re going to start off with a new Next.js app using a starter that's meant to get us both to a similar point that we can work from.
Inside of your terminal, run:
yarn create next-app -e https://github.com/colbyfayock/demo-store-starter my-store
# or
npx create-next-app -e https://github.com/colbyfayock/demo-store-starter my-store
Note: feel free to use a different value than
my-storeas your project name!
Once installation has finished, you can navigate to that directory.
cd my-storeThen we can start our local development server. To do this, we're going to use the Netlify CLI to take full advantage of the Netlify Next.js Runtime locally:
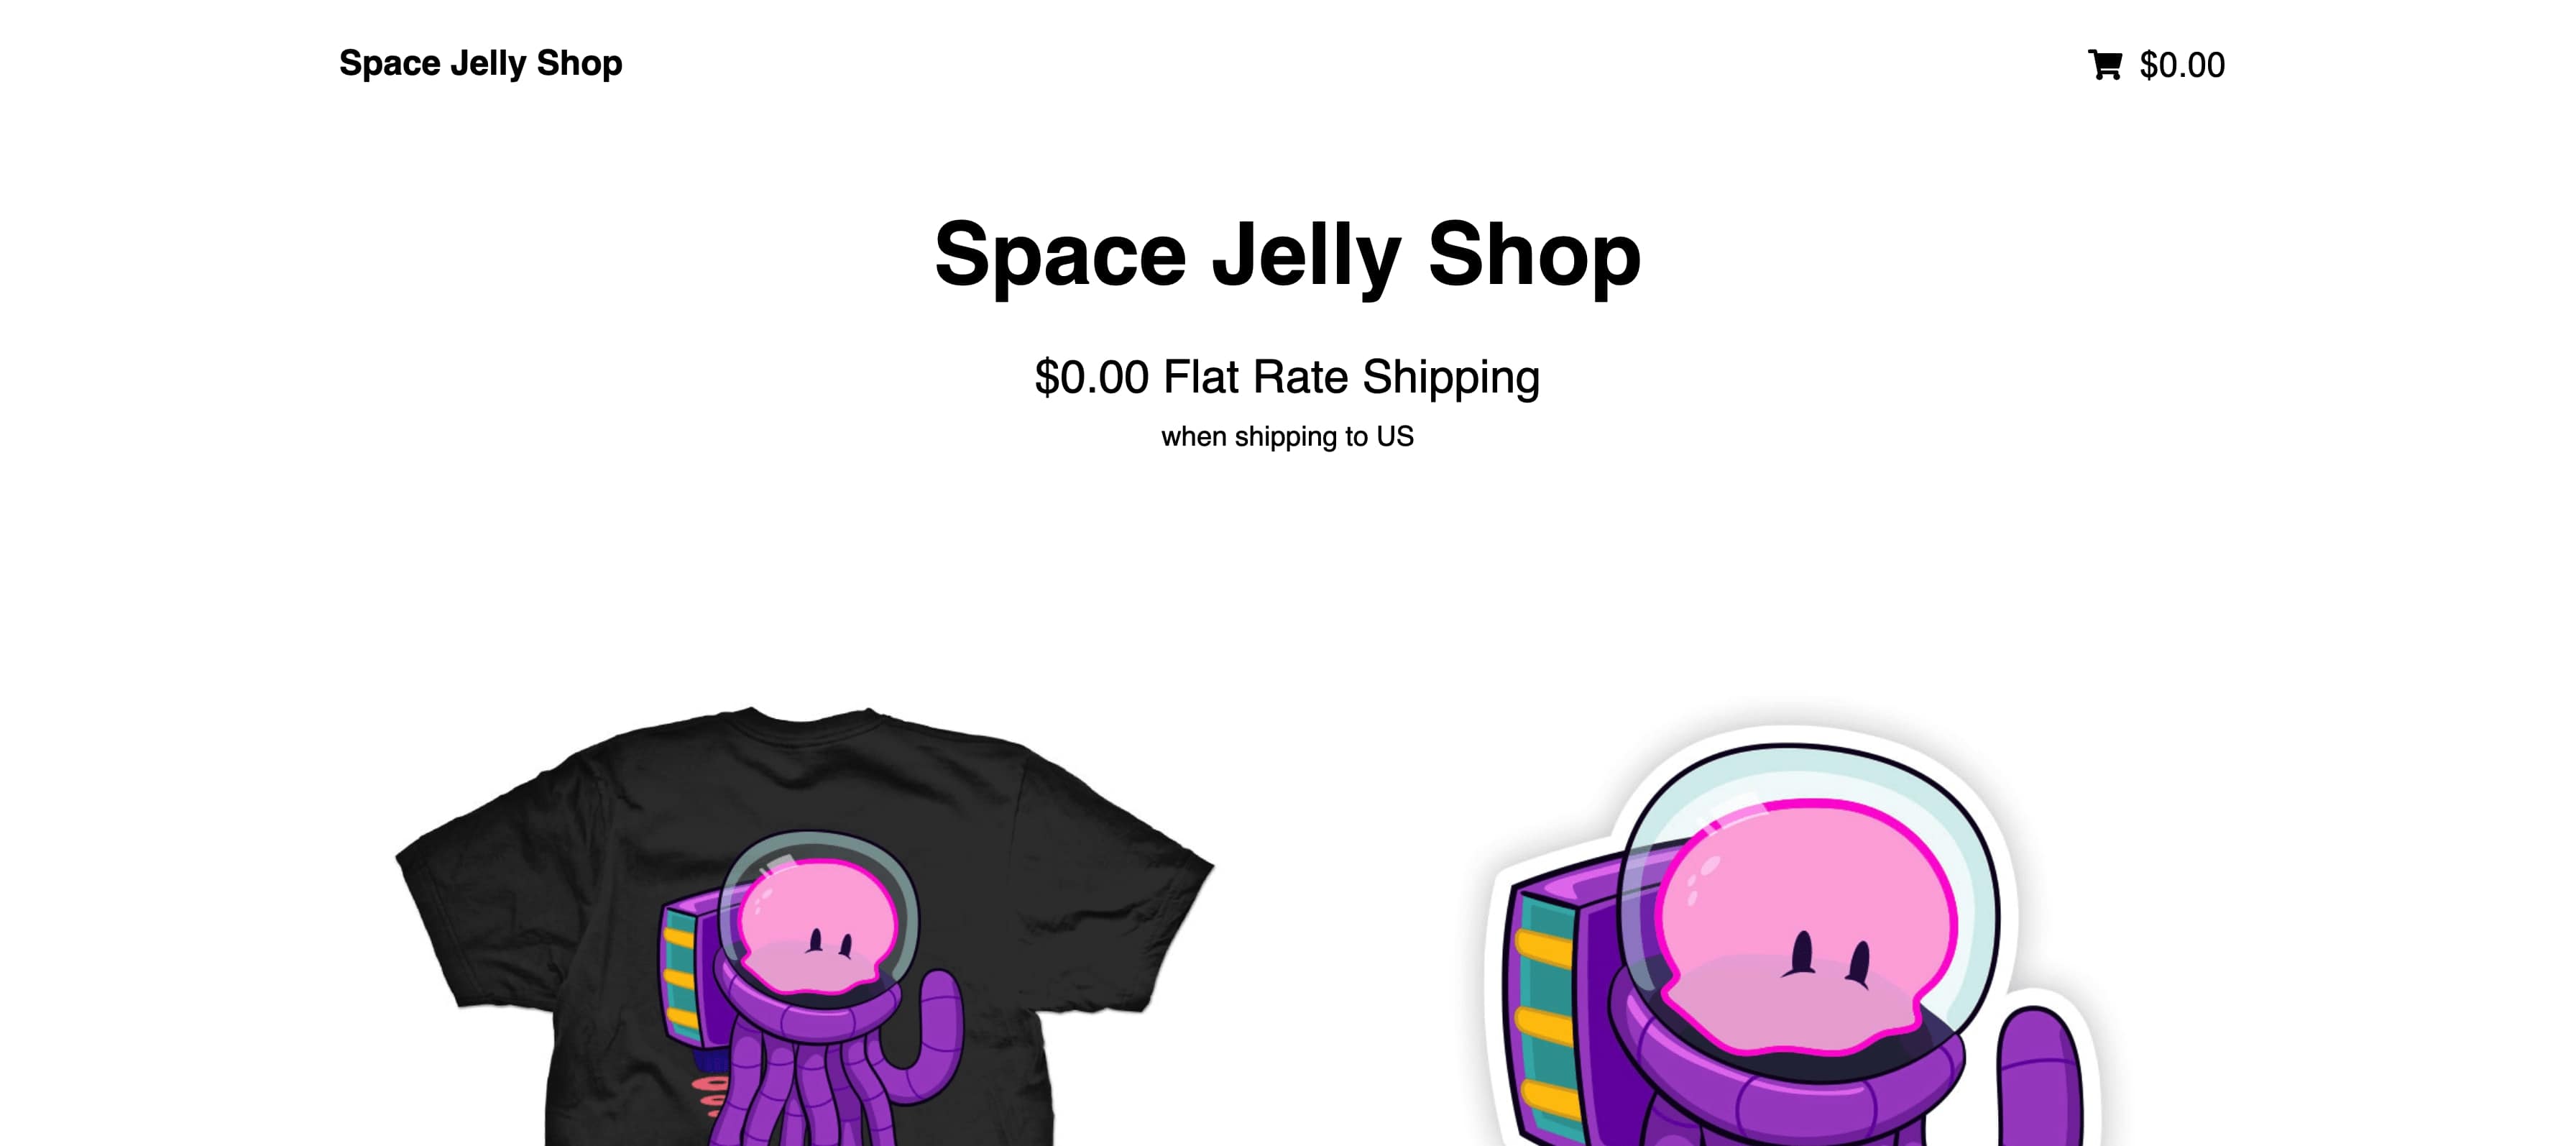
netlify devAnd once you visit it in your browser at http://localhost:8888/, we should see our new application!
Step 1: Use Next.js Advanced Middleware to determine a visitor's location
Starting off, we want to determine our visitor's location. To do this, we can use Next.js Advanced Middleware, where Netlify makes the visitor's geographic location available to us through the Next.js Runtime.
To start, we need to import the Netlify SDK which will allow us to interface with the request.
In your terminal run:
yarn add @netlify/next
# or
npm install @netlify/next
Next, we want to create our Middleware.
Create a new file at the root of your Next.js project called middleware.js.
Starting at the top of the file, let's first import our dependencies:
import { MiddlewareRequest } from "@netlify/next";Then we want to export a function that handles our middleware logic and request chain:
export async function middleware(nextRequest) {
  const request = new MiddlewareRequest(nextRequest);
  const response = await request.next();
  return response;
}
Here we're:
- Exporting our middleware function
- Wrapping the Next.js request with Netlify's Advanced Middleware
- Creating our response using the
nextmethod to pass on the request to the origin - Returning our response
And now comes the fun part.
Now that we're set up with our Advanced Middleware, we now have access to our visitors geography.
After the response definition, add a new console log:
console.log('request.geo', request.geo)And if we reload the page and check out our terminal, we should see our city, state, and country!
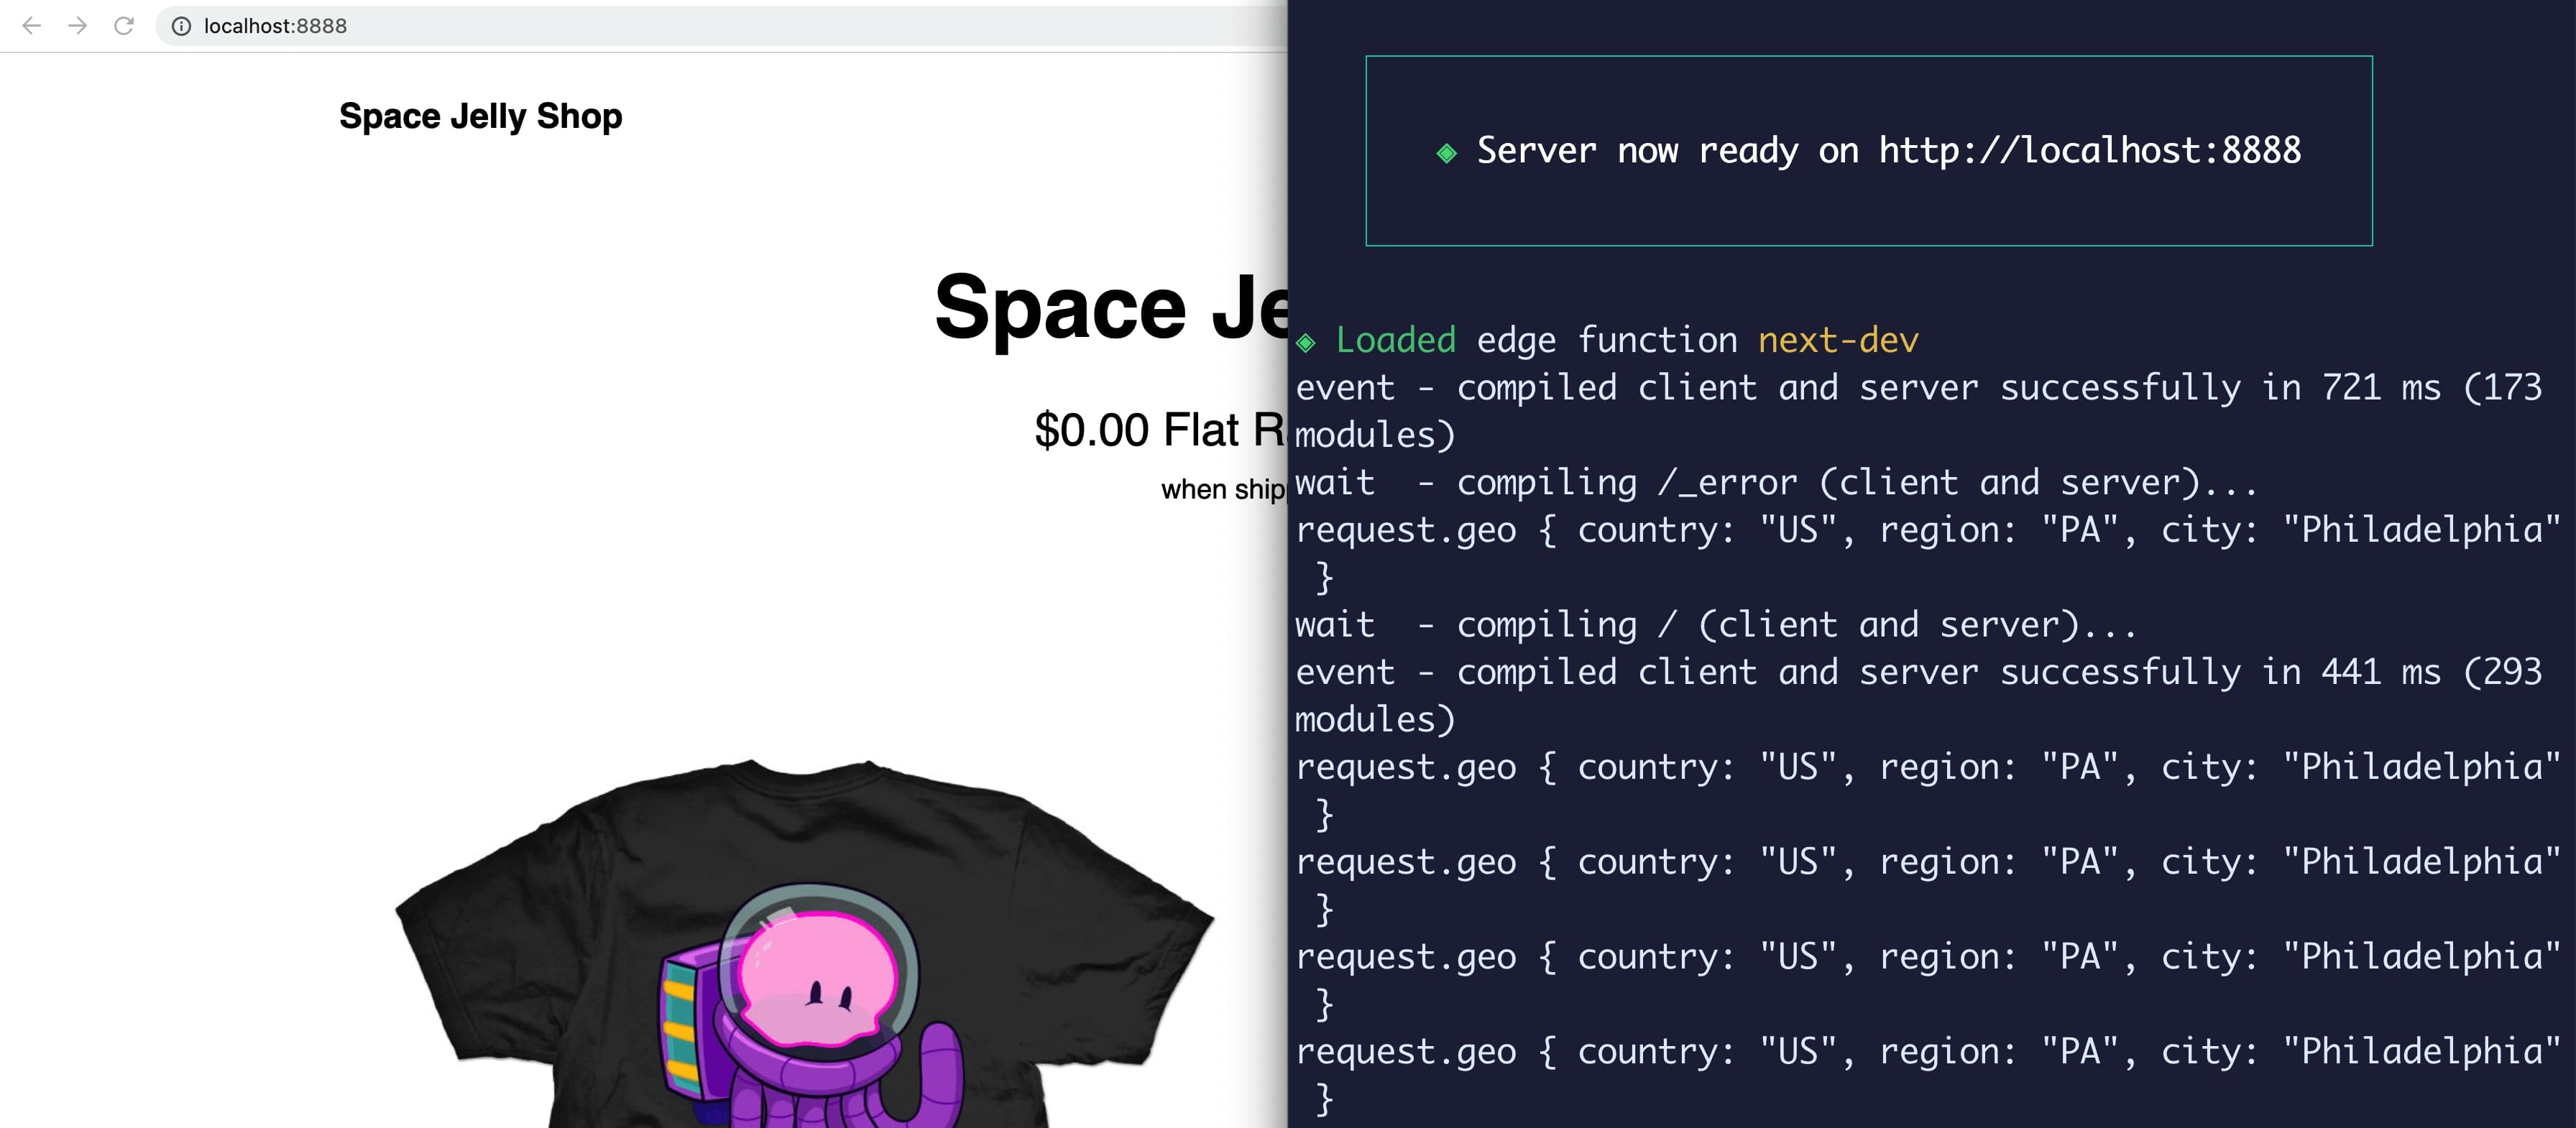
While we don't need all of this information for our use case, we can use our country to determine our shipping rate.
If you're following along with the demo starter, the project includes a sample list of shipping rates including the US and Canada. This list is available inside of src/data/shipping-rates.json.
Note: Feel free to add a new object to
src/data/shipping-rates.jsonwith your country and example rate!
We can import this JSON file which we'll use to find our rate.
First, inside middleware.js let's import our rates:
import shippingRates from 'data/shipping-rates.json';Then we can use our geographic location to find our rate:
Instead of the console log add:
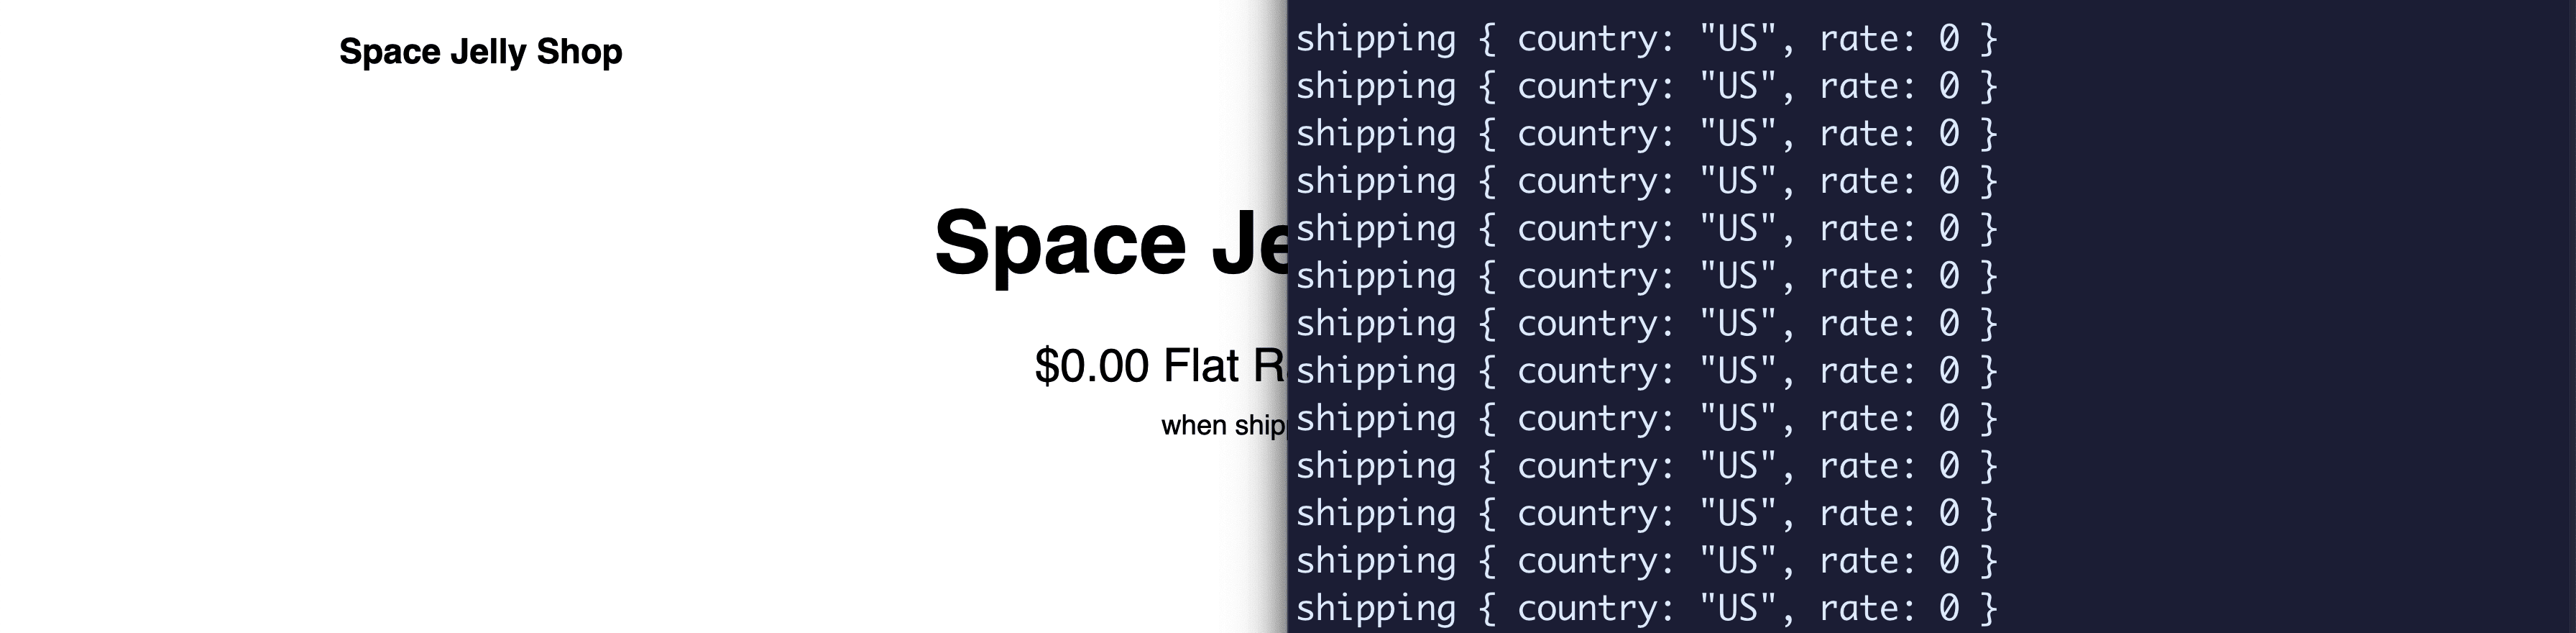
const shipping = shippingRates.find(({ country }) => country === request.geo.country);
console.log('shipping', shipping);
Here we're using the find method to look for the first item in our shipping rates array that include the country we're trying to match.
If our country is in that list, once we reload the page, we should see our shipping rate logged to the terminal.
Note: if you didn't add your country to
src/data/shipping-rates.jsonyou won't see shipping rate data! Make sure to add your own country to follow along.
Next we'll see how we can take our shipping rate and dynamically rewrite our page request to show our visitor that information.
Step 2: Rewrite the page request to inject dynamic shipping rates
Now that we have the data we need, we can use it to rewrite our page request.
When considering how we rewrite our request, we need to consider the Next.js lifecycle.
Our page ultimately renders twice:
- It gets precompiled by way of getStaticProps or getServerSideProps and delivered through the page request
- Once it hits the browser, that page hydrates with React, refreshing the page clientside.
These two versions of the page are supposed to match, otherwise we get errors.
Keeping this in mind, we need to use a two-step process to rewrite our request.
First, we want to fully replace the rendered HTML, replacing the text inside of our page, with our dynamic data using the replaceText method on the response object.
Then, we can use setPageProp method available on the response, to actually change the props that are injected into our Next.js application.
To use replaceText we need to be able to have something inside of the DOM that we can hook on to. Currently, we could probably create some big hacky selector, but it would be easier to set up a class on our elements we want to replace.
Inside src/pages/index.js update the shipping paragraph block to:
<p className={styles.homeShipping}>
  $<span className="shipping-rate">{ shipping.rate.toFixed(2) }</span> Flat Rate Shipping
  <br/>
  <span className={styles.homeShippingNote}>
    when shipping to <span className="shipping-country">{ shipping.country }</span>
  </span>
</p>
Here we're wrapping two parts of our HTML with static classes that will allow us to easily select those in our middleware.
Next, let's actually replace that text!
After our shipping definition inside of middleware.js add:
if ( shipping ) {
  response.replaceText('.shipping-rate', shipping.rate.toFixed(2));
  response.replaceText('.shipping-country', shipping.country);
}
Here we use the replaceText method to target each of our selectors and replace it with the dynamic data.
Once you refresh the page, depending on where you're located, you might have mixed results.
If you're in the US, it will reload like nothing happened.
If you're outside of the US and you hadn't made any other changes, you're going to hit a snag!
Tip: If you're in the US, you can test out the error by changing the country in the
findmethod inside ofgetStaticProps. Try "CA"!
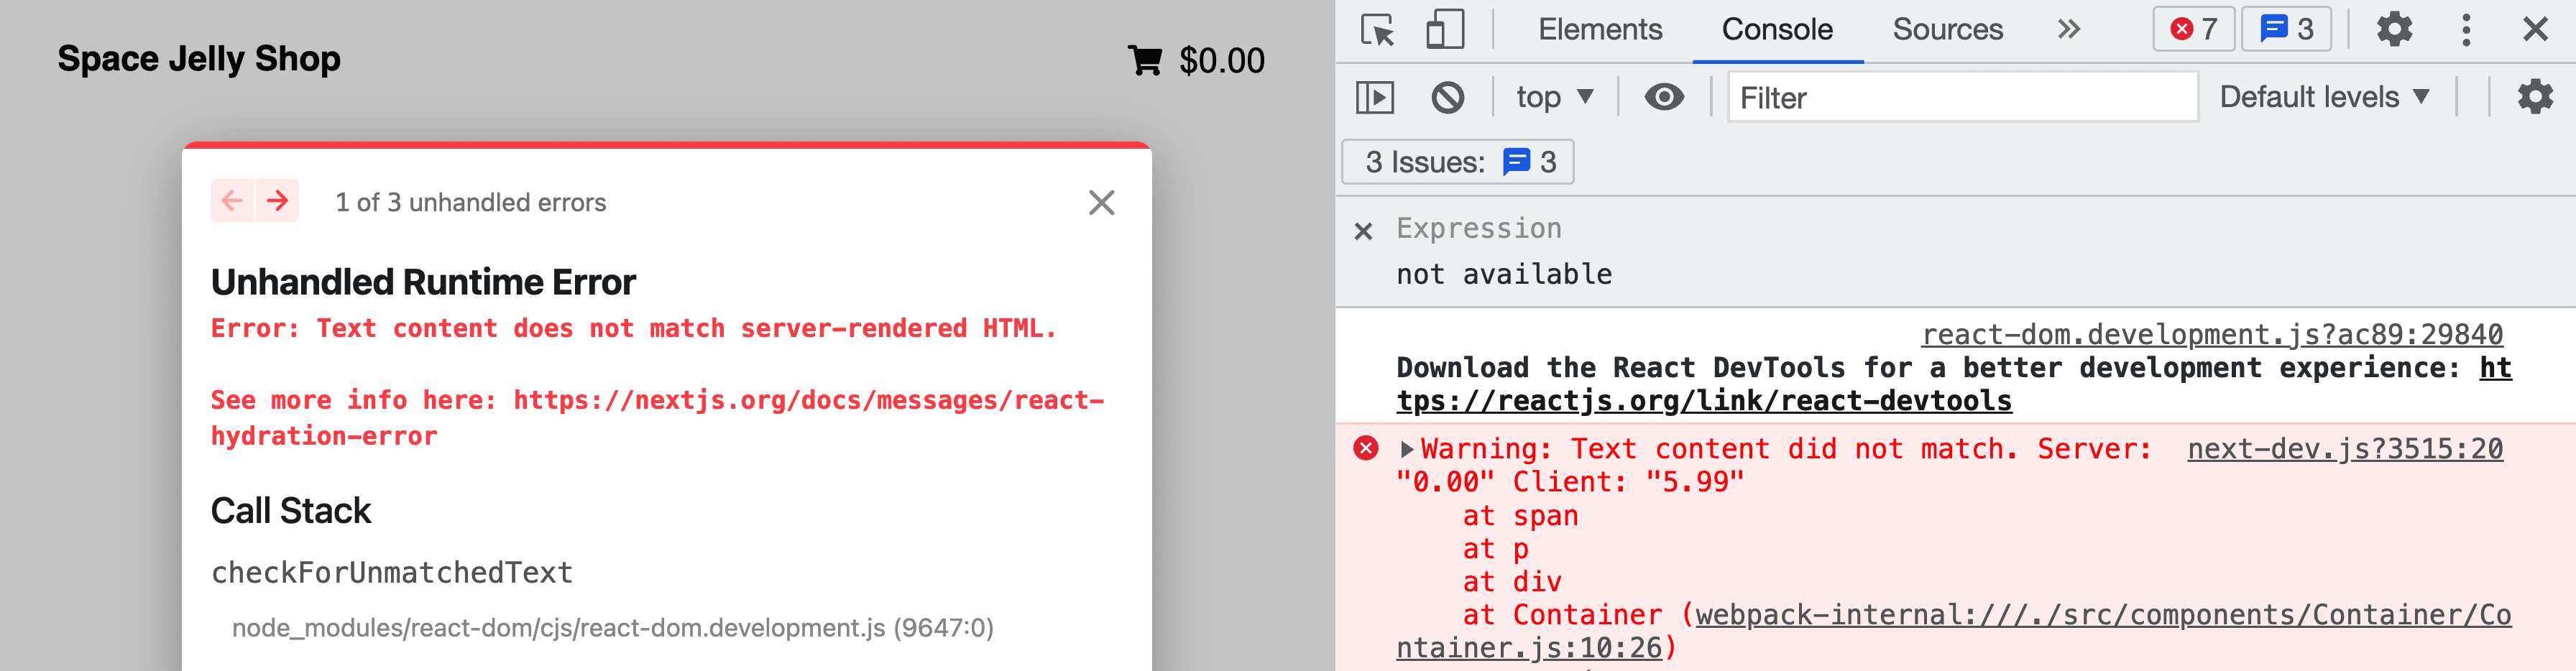
Now as we talked about a few paragraphs ago, this was expected. If both versions of our Next.js lifecycle don't match, we'll get a React hydration error in Next.js.
So let's fix this.
Below where we are replacing our text inside of middleware.js add:
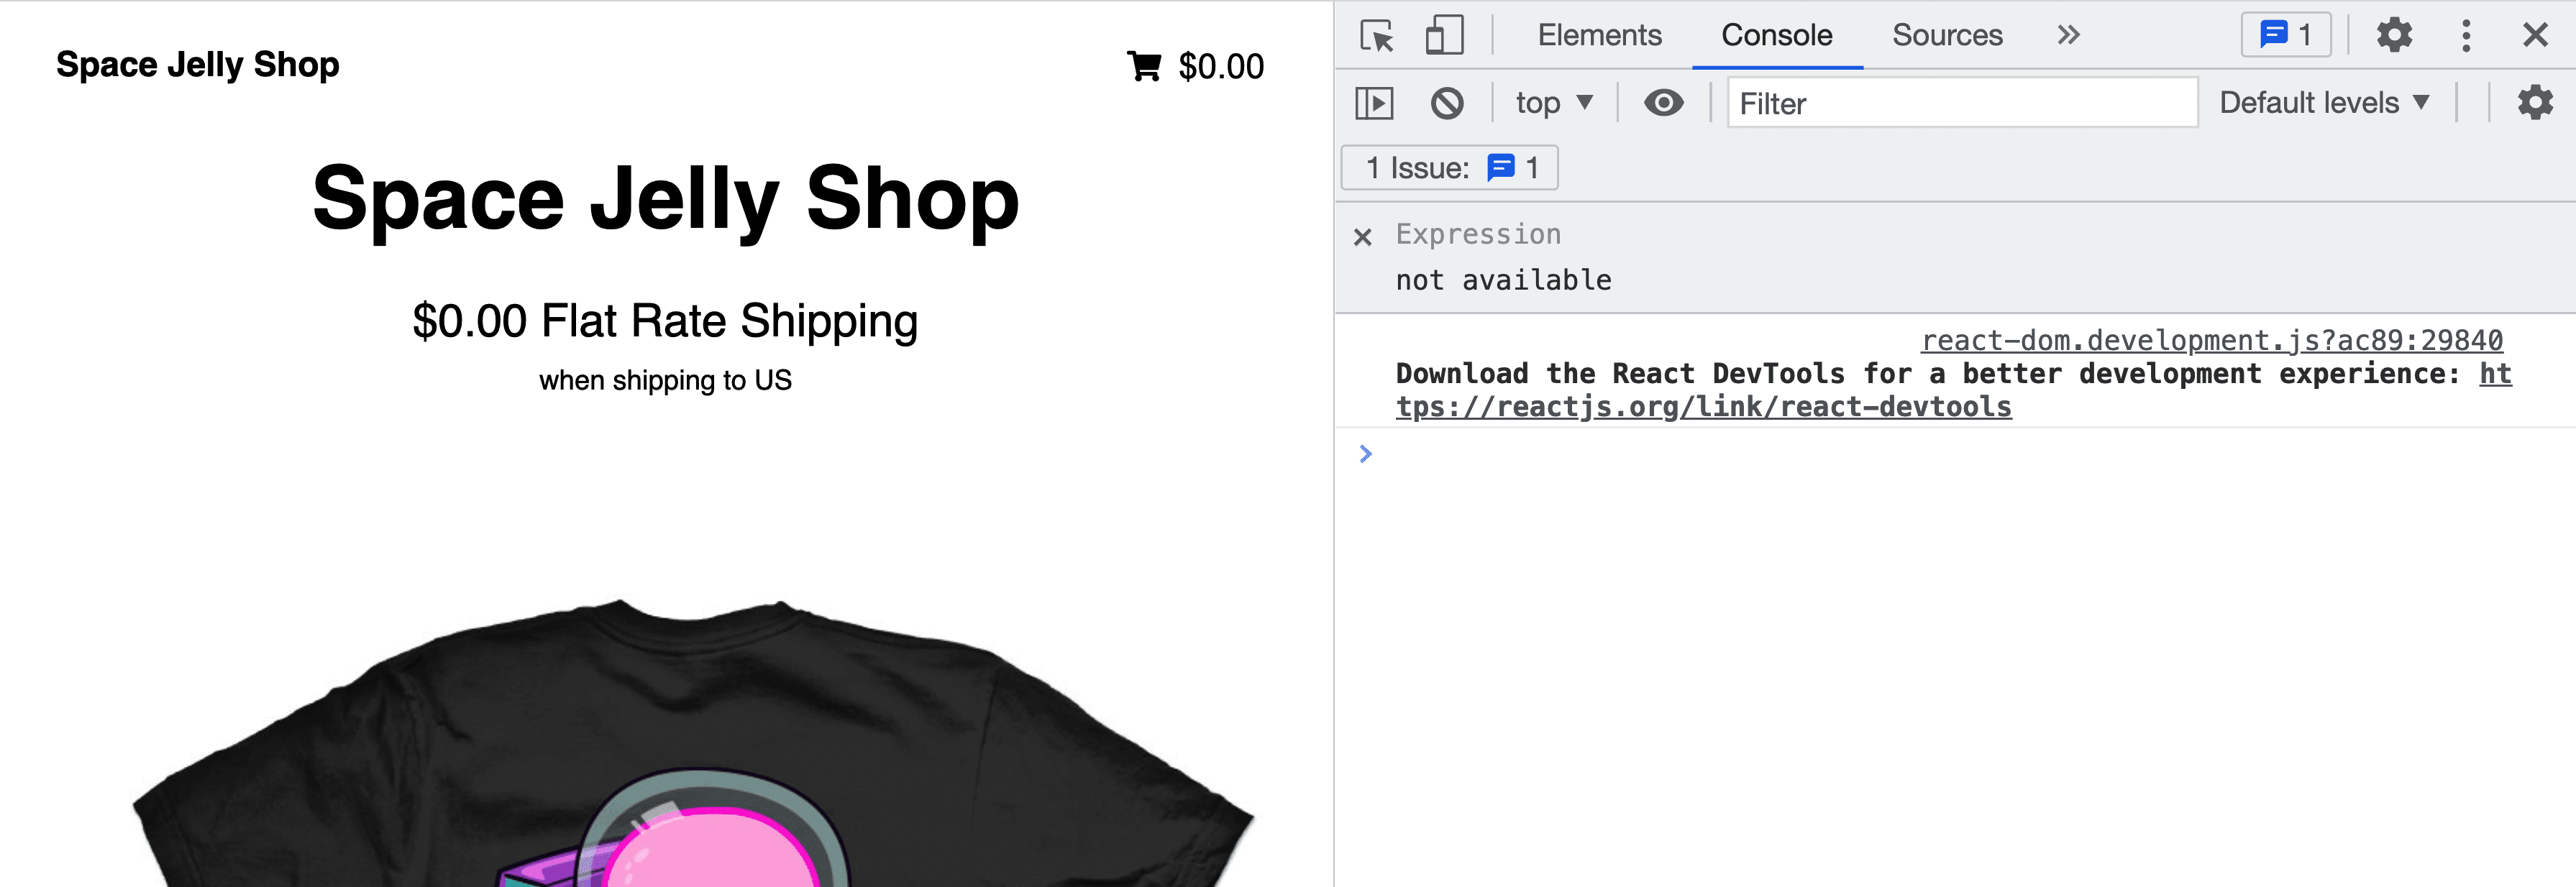
response.setPageProp('shipping', shipping);We're taking out shipping object which was dynamically determined from our location and setting the prop to that value.
And now when you refresh the page, both the server and the client versions of our page will match, and we no longer get an error!
Step 3: Deploy the Next.js App to Netlify
Finally, we want to deploy it to Netlify so we can share it with the world.
You can either continue to do this with the Netlify CLI or use the UI to import the project from your favorite Git Provider.
For deploying from the UI, first select Add new site from your Netlify dashboard, connect to your Git Provider, then find your repository.
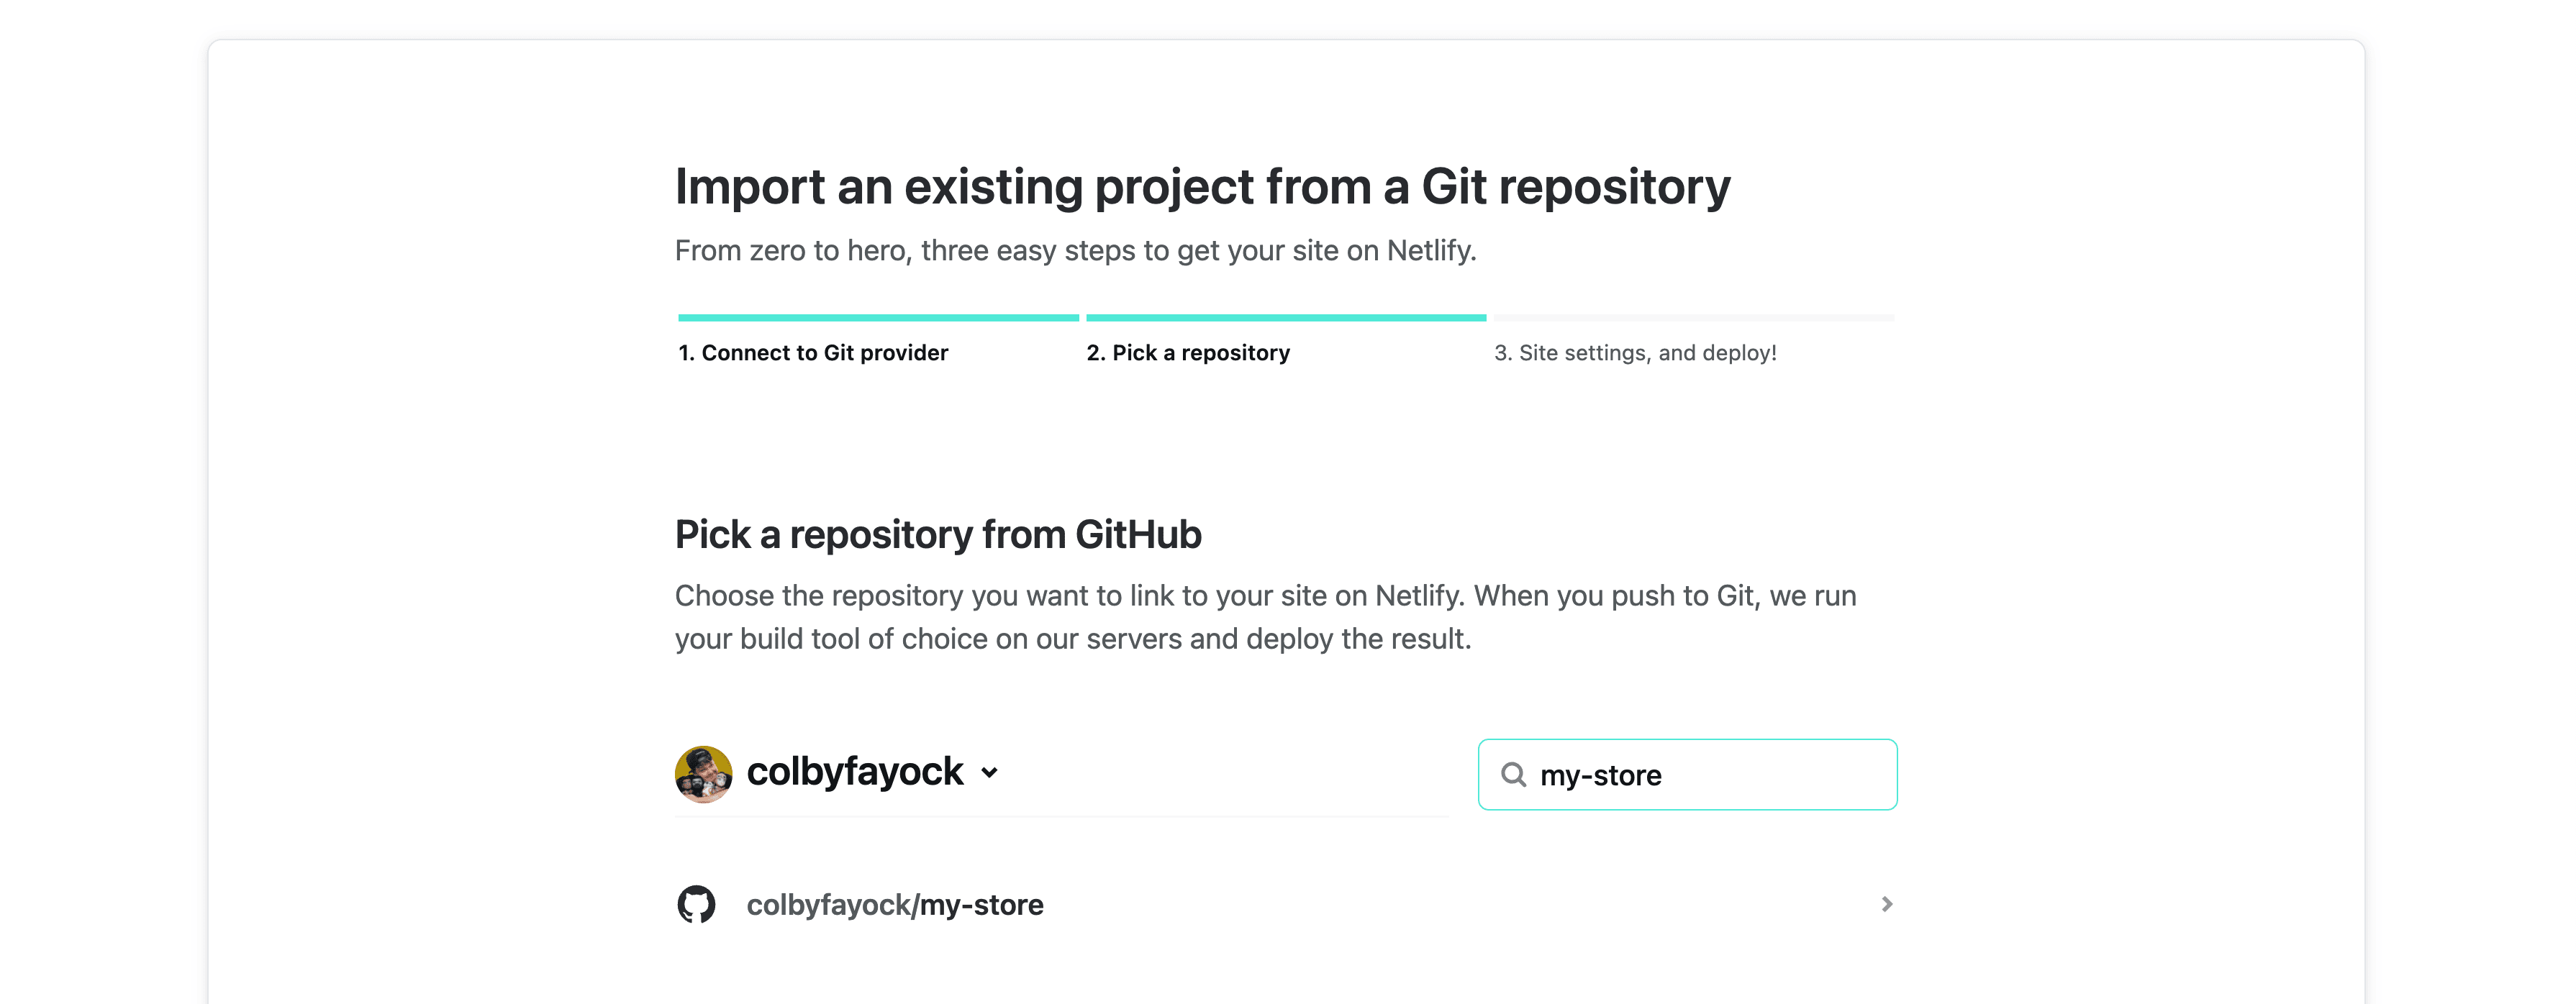
Once you select your project, if your project is following typical Next.js conventions, Netlify will detect that it's a Next.js site and automatically configure your project build settings.
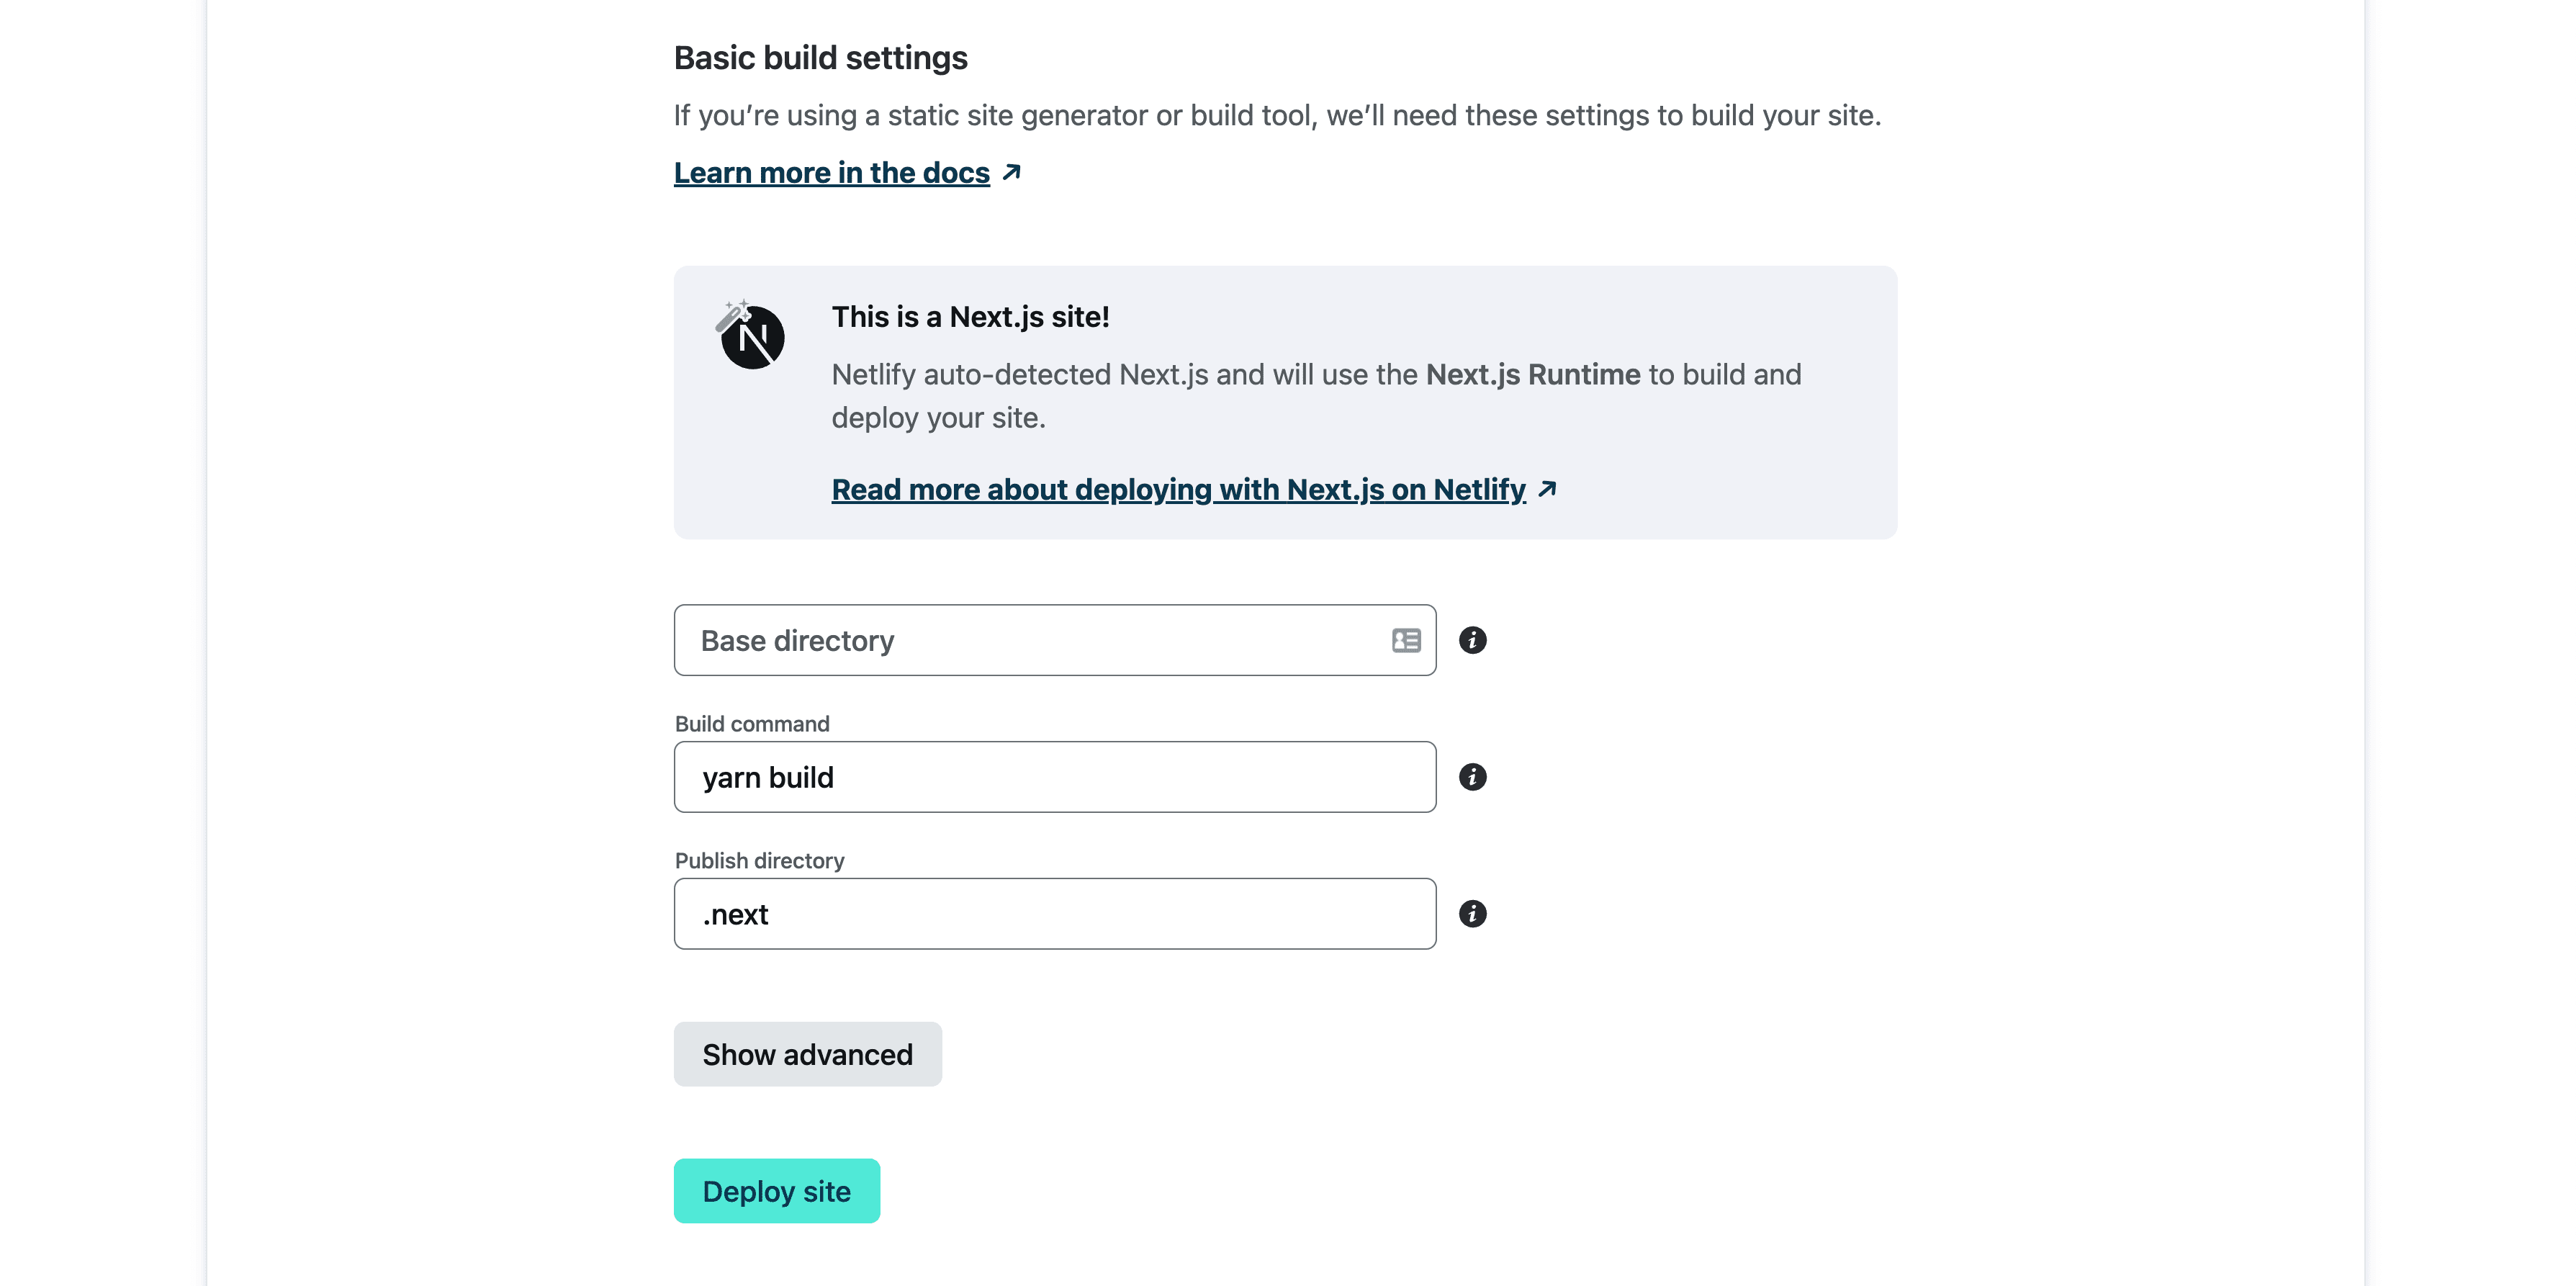
That means, all we have to do is click Deploy site!
And after we do, Netlify will kick off the build process, and deploy the results.
Once that build completes, you'll see a green success message of Published where you can now open your new globally available Next.js site!