Guides & Tutorials
How to add Netlify Identity service to React projects
Update from October 2018: We have updated our Netlify Identity Widget Example to show you how to use Netlify Identity with React Router. The API below hasn't changed but hopefully this helps you if you use React (or Reach) Router.
Netlify Identity service is a full suite of authentication functionality backed by the GoTrue API. This allows you to manage and authenticate users on your site or app, without requiring them to be users of Netlify or any other service. You can use this for gated content, site administration, and more.
Getting started with Identity
You can start using Netlify Identity by enabling it on your site's dashboard.
Once enabled you will need to add the Netlify Identity Widget. Since this feature is backed by GoTrue API, you can build your own widget. But, Netlify has one ready that you can start using by installing the netlify-identity-widget using npm or yarn. Add a reference to your React project’s index.js.
// src/index.js
import React from 'react';
import ReactDOM from 'react-dom';
import './index.css';
import App from './App';
import registerServiceWorker from './registerServiceWorker';
import netlifyIdentity from 'netlify-identity-widget'

var buttons = document.createElement('div')
netlifyIdentity.init()
ReactDOM.render(<App />, document.getElementById('root'));
You can check out a working version of this widget in a React app, at github.com/bcomnes/react-identity-widget-demo. That same example app above is bare bones, but if you want a starting place to test out identity, you can do so by deploying it with Netlify.
Storing the user state in the app
You will most likely want to use a global store (i.e. redux or mobx) to save the netlifyIdentity.currentUser() across different routes. I personally don't think you need a Redux just to store user data. So if you don't want the overhead of using a global store, you can leverage localStorage similar to the way I did in my Open Sauced project.
In order to leverage basic login and logout functionality, I created the identityActions.js file into my lib folder. This gives me some functions that check and update the state of my user.
// src/lib/identityActions.js

import netlifyIdentity from "netlify-identity-widget";

export function loginUser() {
  if (netlifyIdentity && netlifyIdentity.currentUser()) {
    const {
      app_metadata, created_at, confirmed_at, email, id, user_metadata
    } = netlifyIdentity.currentUser();

    localStorage.setItem(
      "currentOpenSaucedUser",
      JSON.stringify({...app_metadata, created_at, confirmed_at, email, id, ...user_metadata})
    );
  }
}

export function logoutUser() {
  localStorage.removeItem("currentOpenSaucedUser");
}
Inside of my App component, I can check to see if my user is logged in by checking localStorage. If my user is logged in, I update the state of the component, which will guarantee a component re-render.
componentDidMount() {
  const user = localStorage.getItem("currentOpenSaucedUser");
  if (user) {
    this.setState({user: JSON.parse(user)});
  } else {
    loginUser();
  }
  netlifyIdentity.on("login", (user) => this.setState({user}, loginUser()));
  netlifyIdentity.on("logout", (user) => this.setState({user: null}, logoutUser()));
}
The Netlify Identity Widget comes with specific eventListeners and I am taking advantage of those to update localStorage based on changes in the login and logout events. the setState React function has the ability to add a callback, which I am leveraging by calling my identityActions on the update of the component.
You can take a closer look at the code that makes this work in this commit. My Open Sauced app is still a work in progress, but I now have the ability to show and hide content based on whether or not a user is logged in.
Adding users in the dashboard
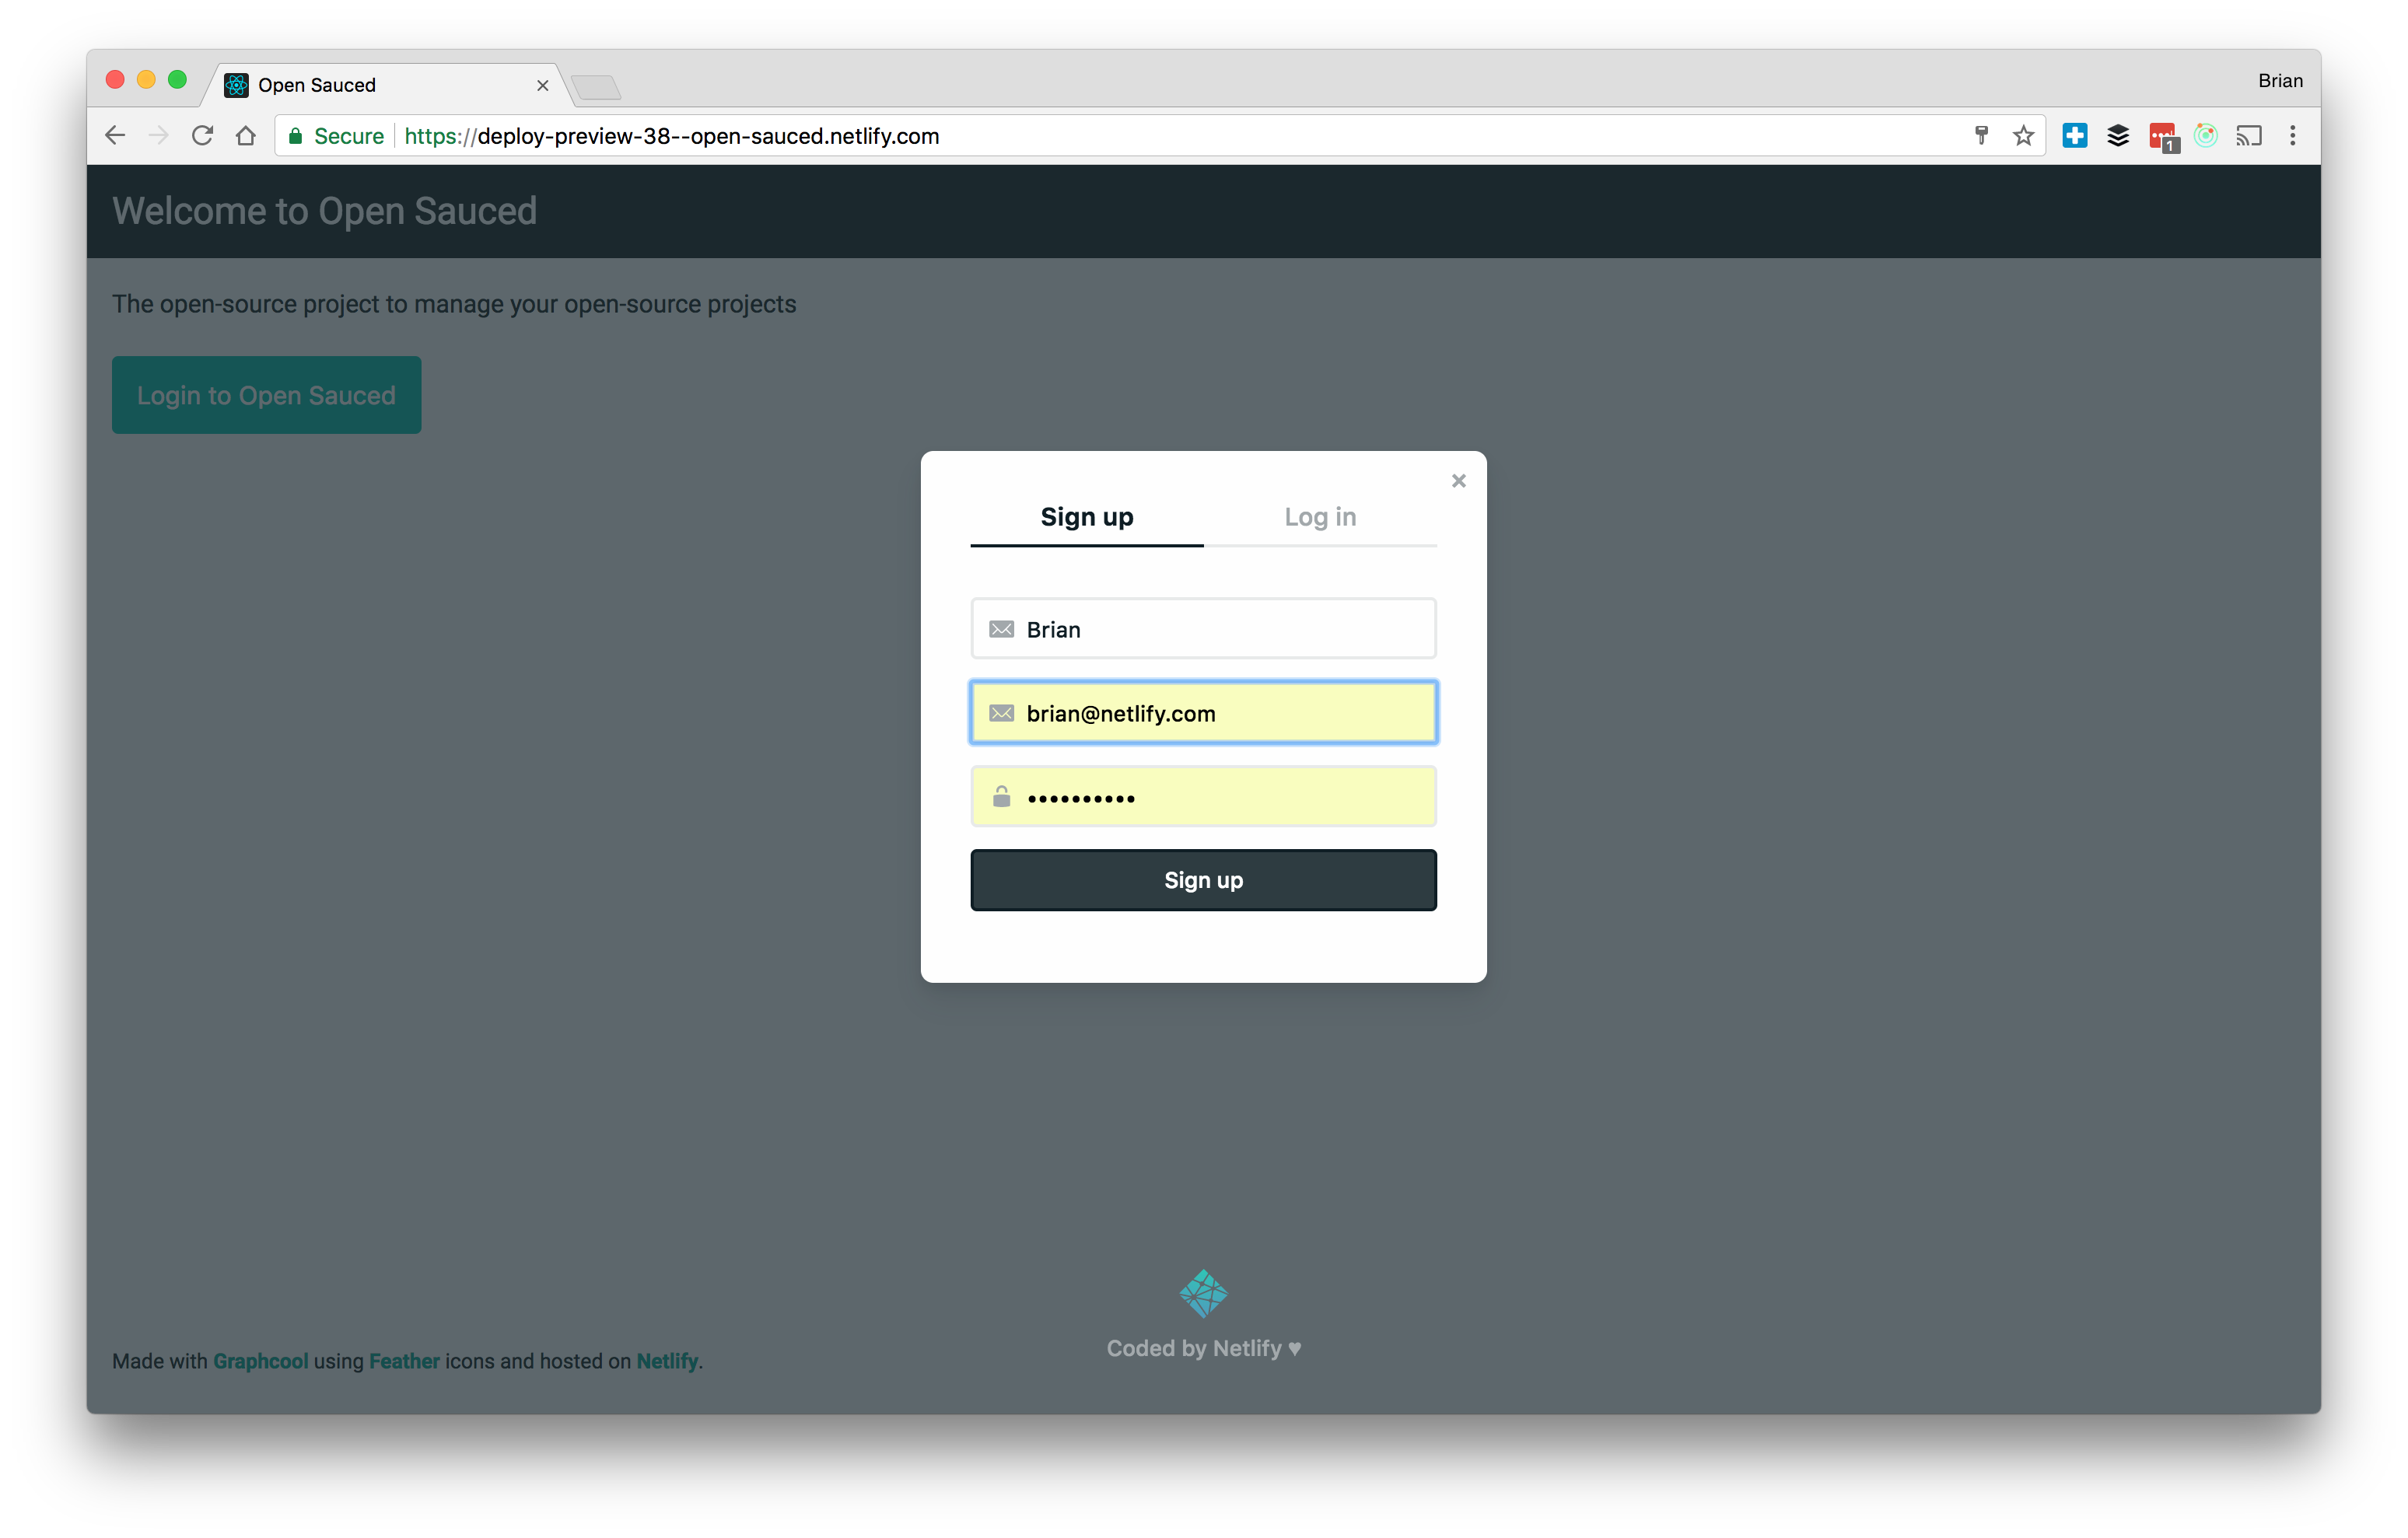
By default, user registration is open, meaning users can sign up using a form on your site. When a user registers for your site, it will trigger an email requesting that the user confirm their address (following the template below). If you would like to skip this confirmation step, from the Identity. Check the box to allow users to sign up without verifying their email address.
To disable new user registration, go to identity setting your site dashboard, and select Invite only under Registration preferences.

You can allow your users to log into your site using an account with an external service provider. Go to **Settings > Identity > Identity configuration , **and under External providers, select the providers you would like to include. We currently support Google, GitHub, Bitbucket, and GitLab.
Have fun with this feature
We are really excited to see different use cases for this feature. Reach out to us through Gitter and our support channels with any questions you may have.


