Guides & Tutorials
Coding Modern Websites with the JAMstack, Part 1
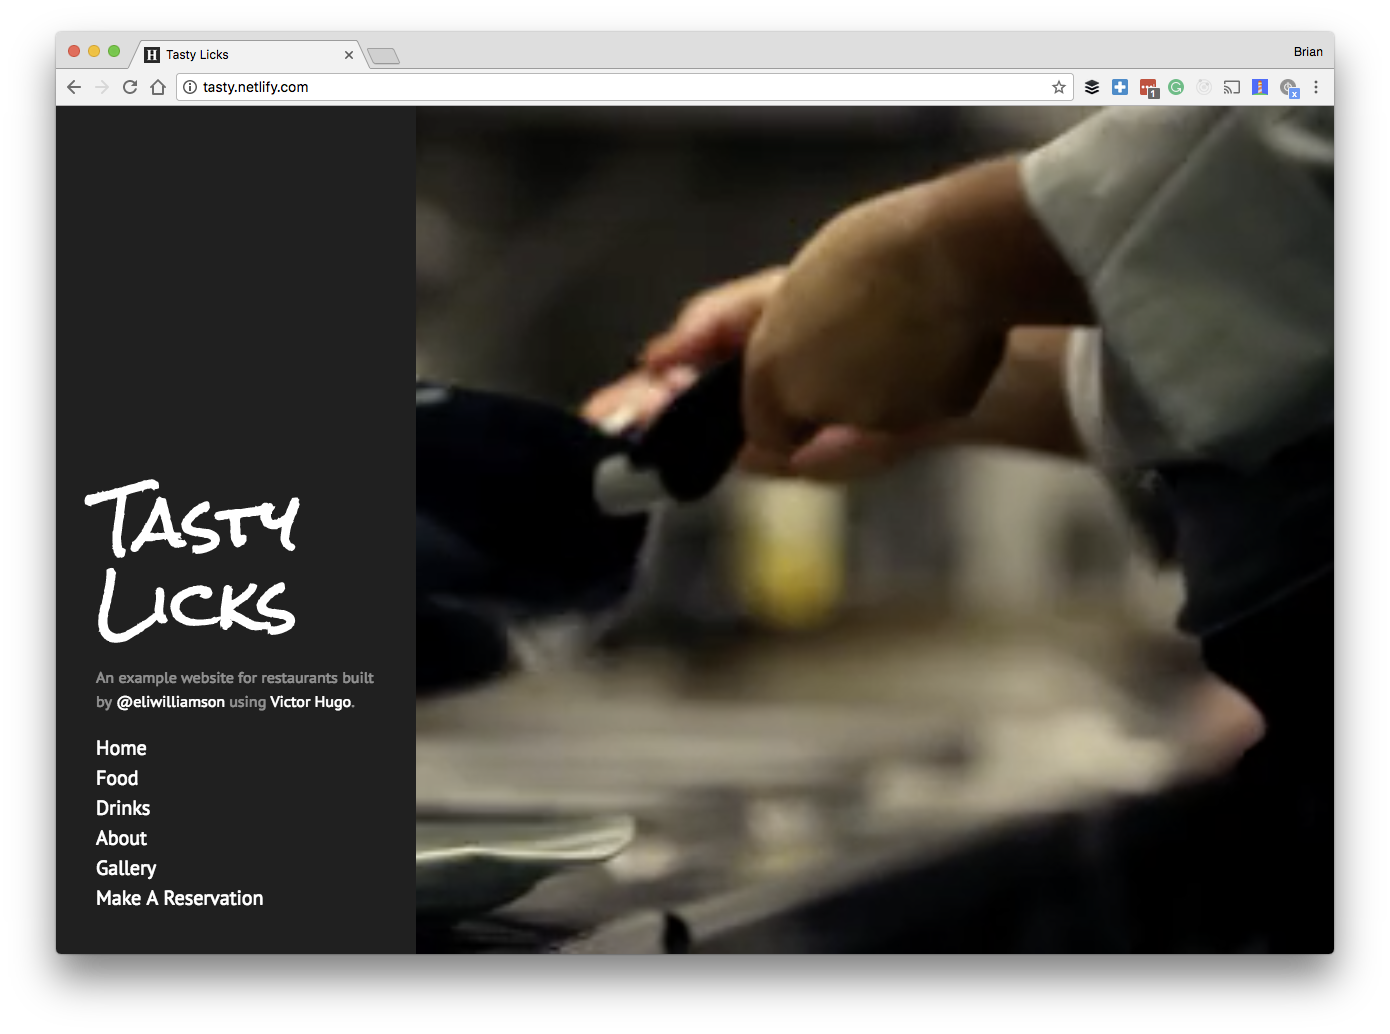
In this tutorial, we will explore how to build a client-side application using modern tooling for a restaurant serving a modern cuisine. We will accomplish this using the basics of HTML, CSS, and JavaScript. You can play around with the live version at tasty.netlify.com.
This tutorial assumes that you already have working knowledge of the basics of web development. If you are still learning, follow along and see how many of the following techniques you might already know. If you are just getting started, consider trying out some tools from our friends at freeCodeCamp.
We will walk through the creation of these features while using the latest static site generation tools.
In this example our restaurant has some specific requests. The website will need to:
- Take reservations
- Maintain an up-to-date image gallery
- Make an editable menu accessible through a CMS
This tutorial will require a GitHub account, so be sure to create one if you do not have one yet. This tutorial also assumes that you are familiar with Git and GitHub, the place where you can host your code. I recommend try.github.io if you’d like to catch up on that.
Cloning the Project
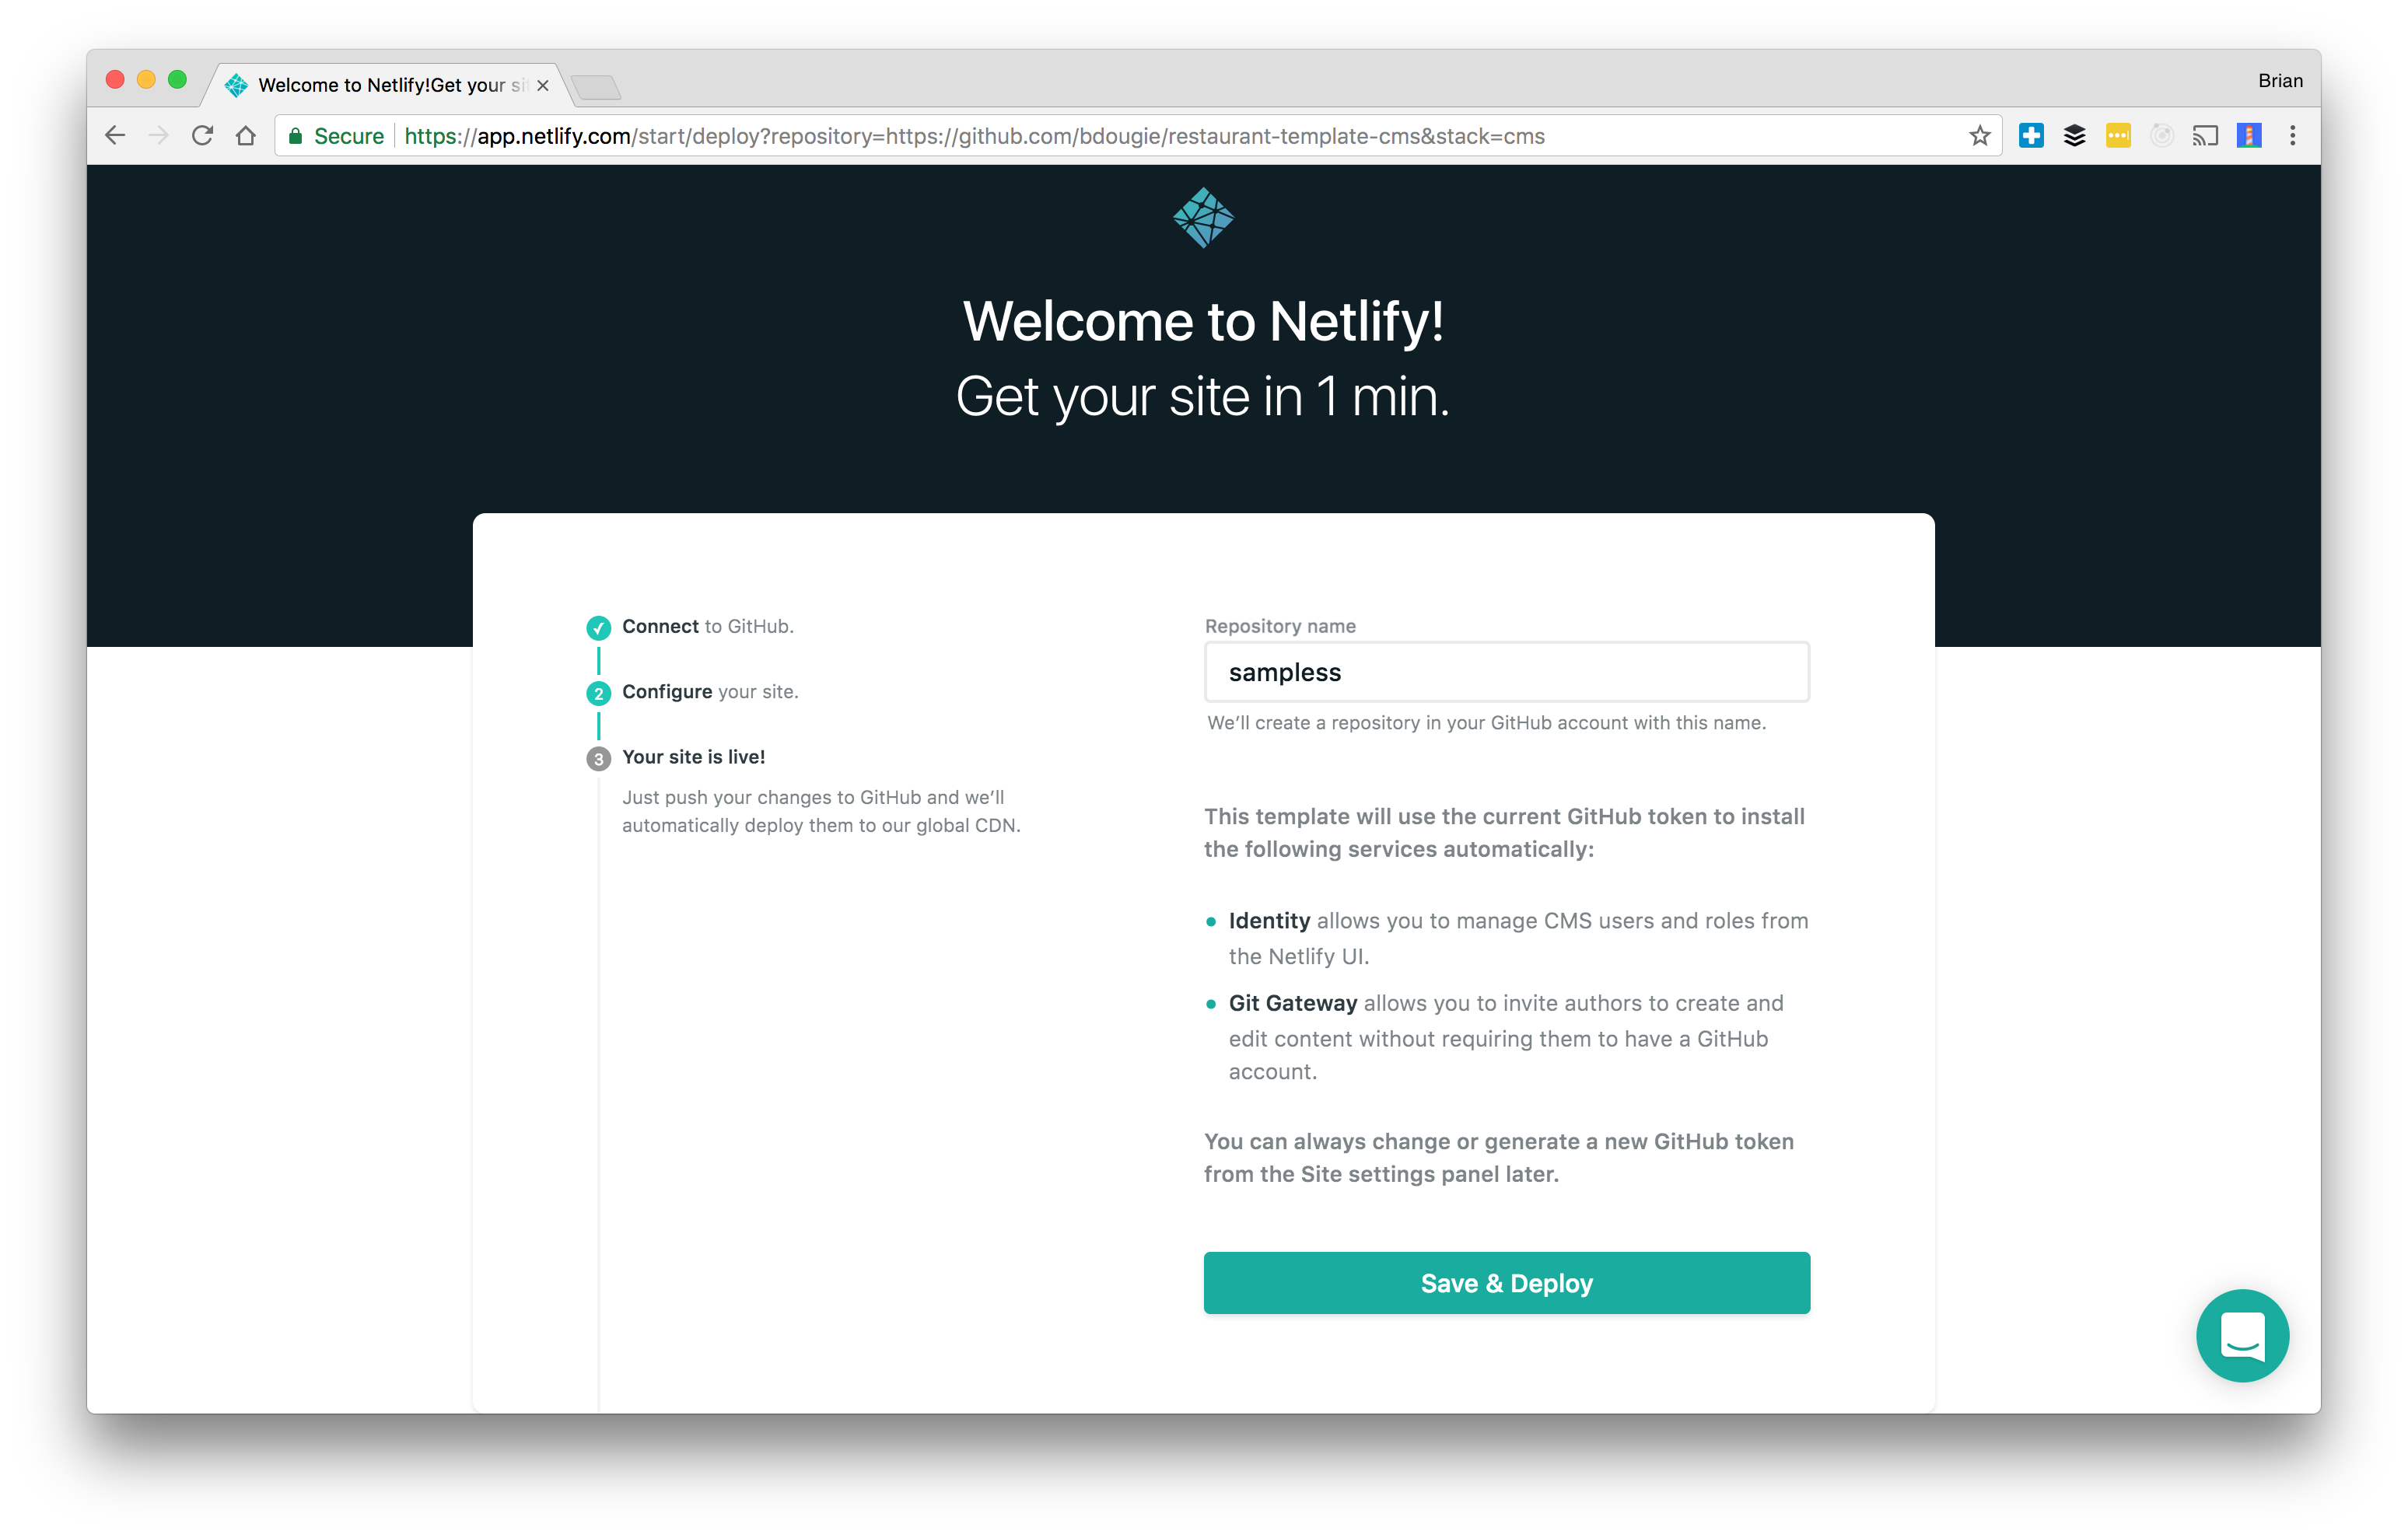
I am going to give you a one-time gift. It’s a link to clone and deploy a version this Tasty Tutorial that includes all of the code in a repository.

The button above takes you to a wizard where you can follow the steps towards cloning this project to your GitHub account as well as your Netlify Dashboard.
In the dashboard, we now have access to make changes to your deployed site. We will be exploring this dashboard in greater detail in future sections of this tutorial.
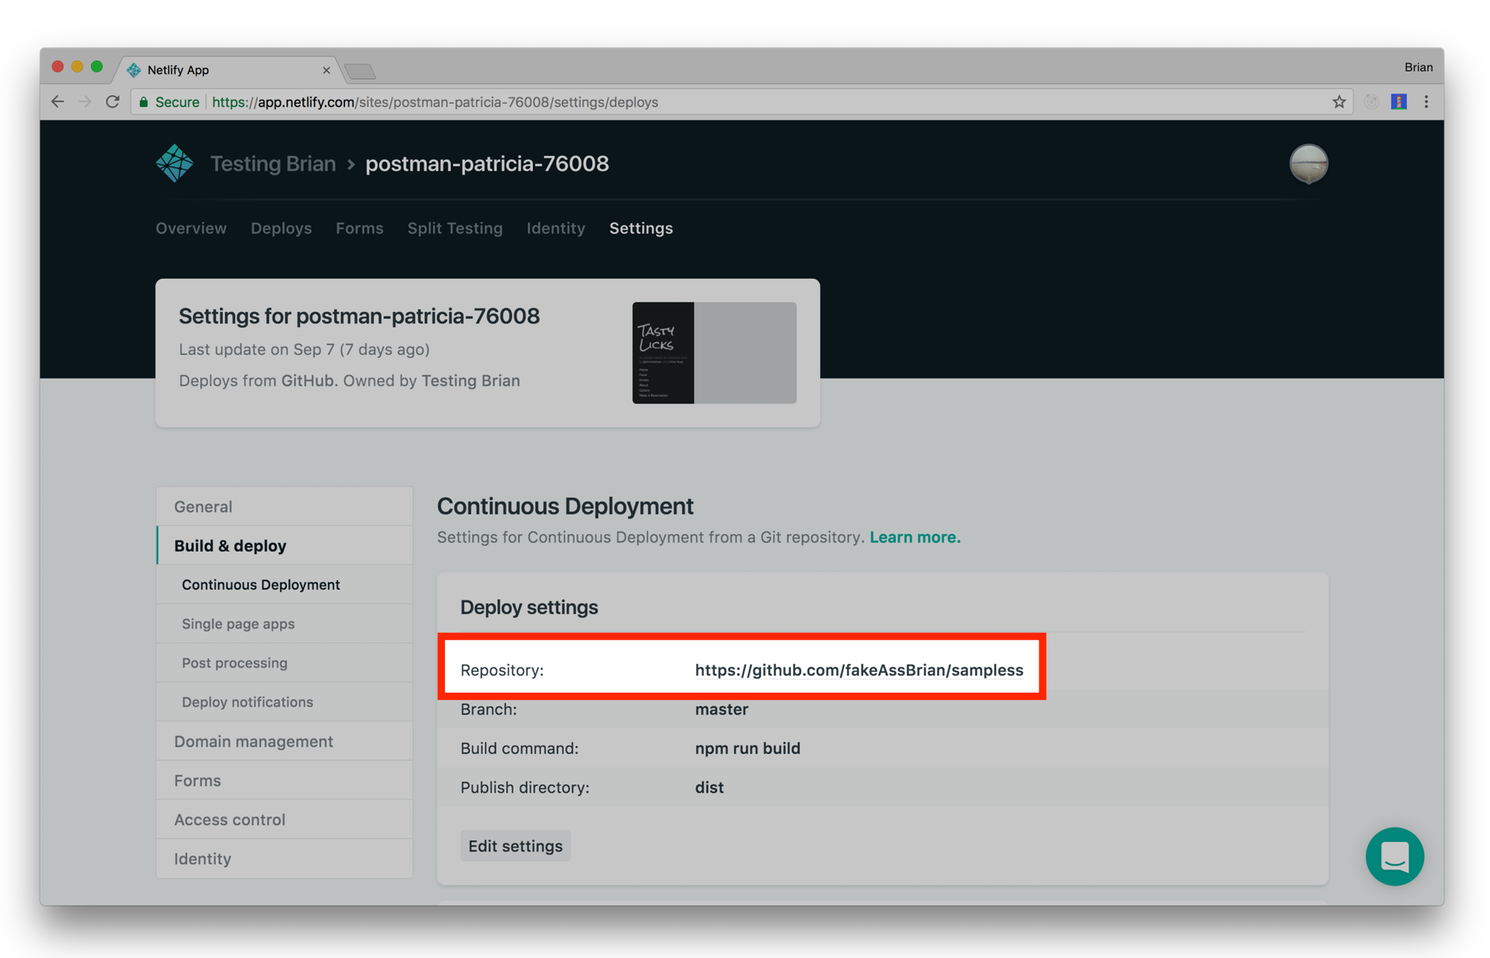
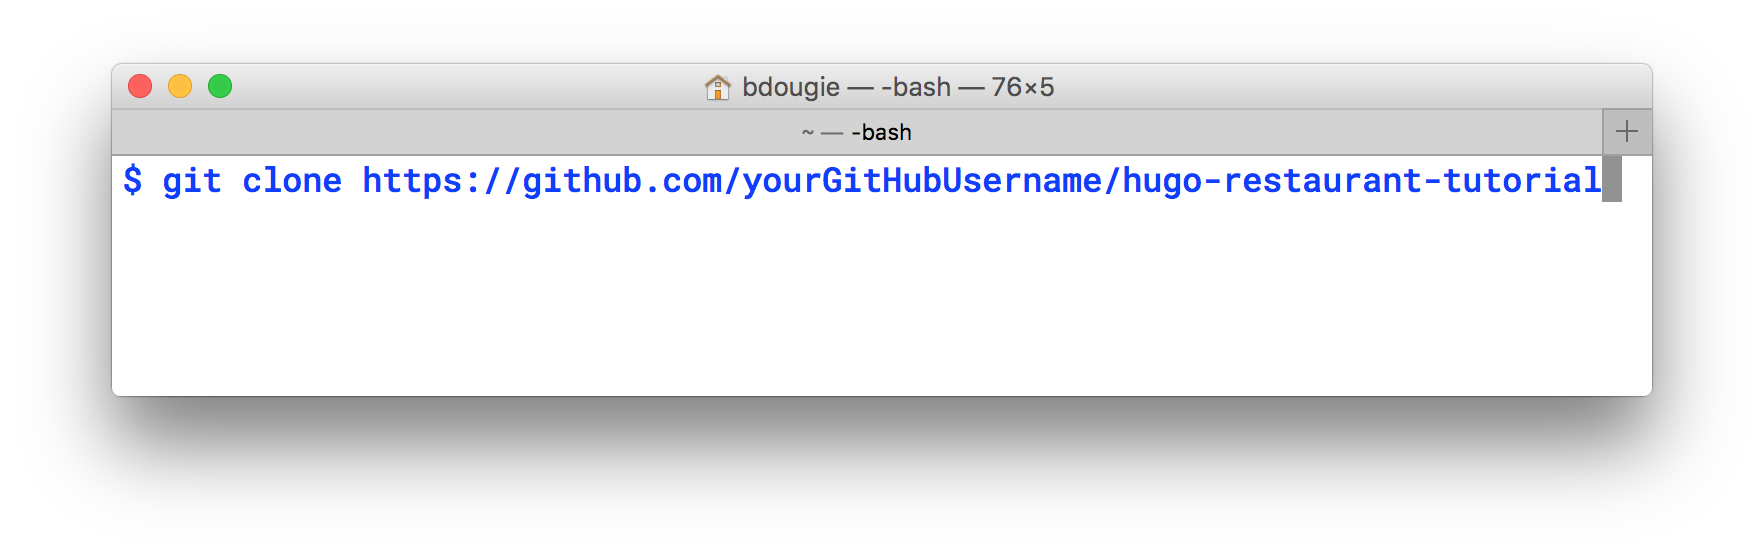
*note: that the site settings have a link to your newly created GitHub repo. Go ahead and clone that project locally
git clone your_github_repository_url
More instructions for setting up this project can be found inside the project’s README.md. If there is something missing, feel free to open a PR on the original repository at netlify/restaurant-template-cms. Within this repository you will be able to see that the code for each step is split off into separate branches, so if you get lost on how to implement something you can find your way through the branches.
Note on continuous deployment: After cloning locally you can now push up all your changes to GitHub. Throughout this entire tutorial, you do not need manually push changes to production. Netlify’s Git integration handles the continuous deployment for you, which will come in handy when we add a CMS to our project later on.
Introducing Hugo, a static site generator
Hugo is a popular static site generator that simplifies the process of website creation and maintenance through its build system. Hugo works flexibly with many formats and is ideal for blogs, docs, portfolios, and much more. Netlify.com is actually a Hugo site, as are a number of other sites created by our team.
According to staticgen.com, Hugo is the second most popular static site generator available and has a thriving community of engineers supporting it.
This specific tutorial will focus on victor-hugo, which is Hugo with a Gulp, Webpack, and PostCSS asset pipeline added. Having a full understanding of Hugo or victor-hugo is not necessary, but debugging will be easier if you at least know they exist in this project. One key difference to note is that all content built in victor-hugo uses npm run build (instead of hugo build) and placed in the dist folder to be delivered by Netlify.
You will need to install Hugo using these instructions to run the project site locally. The instructions include steps for Linux, OSX, and Windows.
The power of Hugo is that you can bundle your site into a version that can be easily be hosted on a CDN. At <1 ms per page, the average site builds in less than a second. Take some time to explore the Hugo documentation and check out the Hugo forum for help and specific questions.

Updating the Menu
Hugo and other static site generators generally use markdown as the basis for dynamic content on the page. At the moment, the site you have cloned is a slightly underwhelming restaurant site with no way to share details about our savory dishes. We want to add a menu to this site to see which plates and appetizers are available for lunch and dinner.

Hugo has a simple yet powerful menu system that permits content to be placed in menus with a good degree of control—and not a lot of work. The config.toml is the place to tap into this menu system. TOML(Tom’s Obvious Markup Language) is a data markup format that’s focused on minimalism.
A config.toml is already available in the file folder structure. Here you can add a new link to our navigation menu called, Food.
 baseurl = "/"
 languageCode = "en-us"
 title = "Tasty Licks"

 [params]
   description = "An example website for restaurants built by [@eliwilliamson](https://github.com/eliwilliamson) using [Victor Hugo](https://github.com/netlify/victor-hugo)."

 [[menu.main]]
     name = "About"
     url  = "/about"
     weight = 1

+ [[menu.main]]
+    name = "Food"
+    url  = "/food"
+    weight = 2
We are almost set to view the actual restaurant menu. We just need to add our food data in a Markdown file. Now, this is going to seem like a bit of magic because rather than explain this to you first I have provided the template for you in the /layouts folder.
The front matter is one of the features that gives Hugo its strength. It enables you to include the metadata of the content right alongside it. Hugo supports a few different formats, each with their own identifying tokens.
---
date: 2017-05-17T13:03:58-04:00
categories:
  - lunch
  - dinner
type: raw bar
title: half dozen oysters
description: >-
  kusshi (bc), marin miyagi (ca), beausoleil (nb), island creek (ma), pacific gold (ca)
price: 24
---
The example above is free for you to consume. You will see those same oysters have already been added to the site/content/food folder. This data will be parsed through Hugo and presented using the layout I provided. If you spin up your site locally (npm start) you can now see your oysters. Note: you will need to restart the server because Hugo builds your dynamic content into a static site, so markdown changes will need to be rebuilt.
We now have a menu, but it is pretty bare. Take some time and add some more items to your menu. Use the same format as we did with oysters above, but try out some unique combinations in your front-matter. Keep in mind the solution is available in the original repository if you get stuck. Be sure to commit your changes before moving on.

Note about Hugo taxonomies: All content in our restaurant template is rendered dynamically from what Hugo calls Taxonomies. By the end of this tutorial, we will have multiple taxonomy types, which are Food and Drinks.
-site
  -content
    - food
    - drinks
    - pages
If you are curious, read more about Taxonomies in the Hugo documentation.

Now that you have a basic understanding of how content is organized, let's work on site/layouts. Within the layout structure, you will find the single and list views. The code below is the logic for how the different pages are rendered. I have notated with comments to point out how conditionals can be used to hide and show content based on the current page being viewed. This is a simple approach to rendering content. The Hugo documentation goes into greater detail and I highly recommend you check it out for a deeper understanding.
<--! site/layouts/_default/list.html -->

{{ partial "header" . }}

<div class="content container {{ .Title }} {{ .Section | urlize }}">
  <h1>{{ .Section }}</h1>
  <!-- Sections are defined in the config.toml -->
  <!-- Food -->
  {{ if eq .Section "food" }}
    <!-- categories are defined in the site/content -->
    {{ range $taxonomyname, $taxonomy := .Site.Taxonomies }}
      <section>
        {{ if eq "categories" $taxonomyname }}
          {{ range $key, $value := $taxonomy }}
            {{ if ne $key "drinks"}}
              <h2><em>{{ $key }}</em></h2>
              <hr>
              {{ range $value.Pages.GroupByParam "type" }}
                <h3>{{ .Key }}</h3>
                <ul>
                {{ range .Pages }}
                  <li>
                    <p><strong>{{ .Title }}:</strong> {{ .Params.description }}</p>
                    <p>{{ .Params.price }}</p>
                  </li>
                {{ end }}
                </ul>
              {{ end }}
            {{ end }}
          {{ end }}
        {{ end }}
      </section>
    {{ end }}
  <!-- Drinks -->
  {{ else if eq .Section "drinks" }}
    {{ range $taxonomyname, $taxonomy := .Site.Taxonomies }}
      <section>
        {{ if eq "categories" $taxonomyname }}
          {{ range $key, $value := $taxonomy }}
            {{ if eq $key "drinks"}}
              {{ range $value.Pages.GroupByParam "type" }}
                <h2><em>{{ .Key }}</em></h3>
                <hr>
                <ul>
                {{ range .Pages }}
                  <li>
                    <p><strong>{{ .Title }}:</strong> {{ .Params.description }}</p>
                    <p>{{ .Params.price }}</p>
                  </li>
                {{ end }}
                </ul>
              {{ end }}
            {{ end }}
          {{ end }}
        {{ end }}
      </section>
    {{ end }}
  <!-- Image Gallery -->
  {{ else if eq .Section "gallery" }}
    <div class="gallery-carousel">
      {{ range where .Pages "Section" "gallery" }}
        <div><img src="{{ .Params.image }}"/></div>
      {{ end }}
    </div>
    <div class="buttons">
      <button class="prev half-button">Prev</button>
      <button class="next half-button">Next</button>
    </div>
  {{ end }}
</div>

{{ partial "footer" . }}
Adding the food menu was straightforward. However, making continual updates to the menu will be tedious (as you might have discovered first hand). In Part 2 of this tutorial, I show you how to maintain the content of this site without using the command line.


