Guides & Tutorials
How to Shop With Static: Open Source eCommerce with Flatmarket
Your website's store is painfully slow, and it's costing you money.
According to a KISSMetrics study, 40% of shoppers will abandon a website that takes longer than 3 seconds to load, and 47% expect a site to load in less than two.
That's a problem for most eCommerce sites, which are almost always absolutely dependent on heavy backend databases.
But now, you can harness the speed, security and reliability of a static site to run your online store. Today, we'll take a look at one such static eCommerce platform, Flatmarket.
Flatmarket is free, open source, and built on the latest web technologies like hapi, React and Webpack. It features responsive design, the speed of static, and the security of Stripe to process payments, with an easily-deployed Heroku app to validate purchases and interact with the Stripe API.
We'll be using the Flatmarket Example to show you how to get it up and running on Netlify. You can then set up your own Flatmarket server, and run the configuration the same way. Let's get started.
Go to the Flatmarket Example repo and download it as a .zip file.
Unzip the file to where you plan on storing your project, and then change the directory name to flatmarket-example.
Open a terminal and change to that new directory
$ cd ~/PATH/TO/flatmarket-example
Now you need to install the dependencies
$ npm install
Once that's done, you can test Flatmarket locally
$ ./node_modules/.bin/flatmarket \ --component ./node_modules/flatmarket-theme-bananas/index.jsx \ --stripe-secret-key YOUR_TEST_SECRET_KEY \ --dev
This will create an instance of Flatmarket running at https://127.0.0.1:8000. Notice that it's https.
If everything looks and functions correctly (you can consult https://christophercliff.com/flatmarket/ as a reference), let's prepare this for GitHub.
Prepping for Build
Netlify can use any number of versions of tools to build your site. But we need to tell Netlify which versions to use. Since Flatmarket uses Node.js and NPM, we need to see which version you are running on your production machine. In the terminal enter the following:
$ node -v
Now check to see if Netlify supports your version of Node: https://github.com/netlify/build-image/blob/master/Dockerfile#L93. Look for a version close to yours (look for code along the lines of nvm install v5.1.0 if your version is 5.1.x).
To create a file to tell Netlify which version of Node.js to use, enter the following command in the terminal:
$ echo your.version.number > .nvmrc
On the computer used to create this tutorial, the node version is v4.2.6, which is listed in the link above. Therefore, the command used was echo 4.2.* > .nvmrc. Your version number may be different.
Now it’s time to push it to your repo of choice. Directions for GitHub follow here.
Creating your Git Repo
Create a new repository on GitHub. To avoid errors, do not initialize the new repository with README, license, or gitignore files. You can add these files after your project has been pushed to GitHub.
Open Terminal (for Mac users) or the command prompt (for Windows and Linux users).
For our purposes, let’s call your new repo flatmarket-example.
Change the current working directory to your local project.
$ cd ~/PATH/TO/flatmarket-example/
Initialize the local directory as a Git repository.
$ git init
Add the files in your new local repository. This stages them for the first commit.
$ git add .
Commit the files that you've staged in your local repository.
$ git commit -m 'First commit'
At the top of your GitHub repository’s Quick Setup page, click the clipboard icon to copy the remote repository URL.
In Terminal, add the URL for the remote repository where your local repository will be pushed.
git remote add origin Git_Repository_URL
Verify your URL
git remote -v
Now, it’s time to push the changes in your local repository to GitHub.
git push -u origin master
Now that your assets are up and running on GitHub, let’s connect them to Netlify. Once we're connected to Netlify, we can continue with the setup.
Connecting to Netlify
Step 1: Add Your New Site
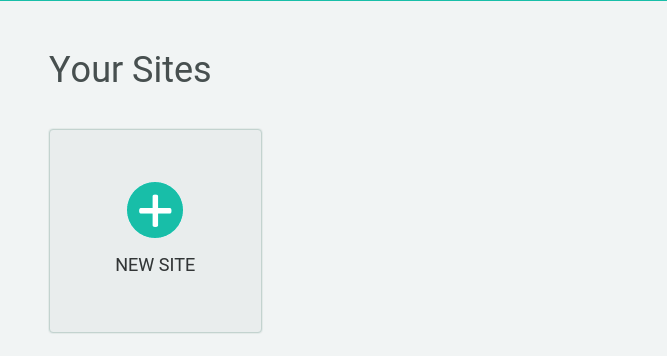
Creating a new site on Netlify is simple. Once you’ve logged in, you'll be taken to https://app.netlify.com/sites. If you’re just starting out, there’s only one option.
Step 2: Link to Your GitHub
Clicking “New Site” brings you to this screen:
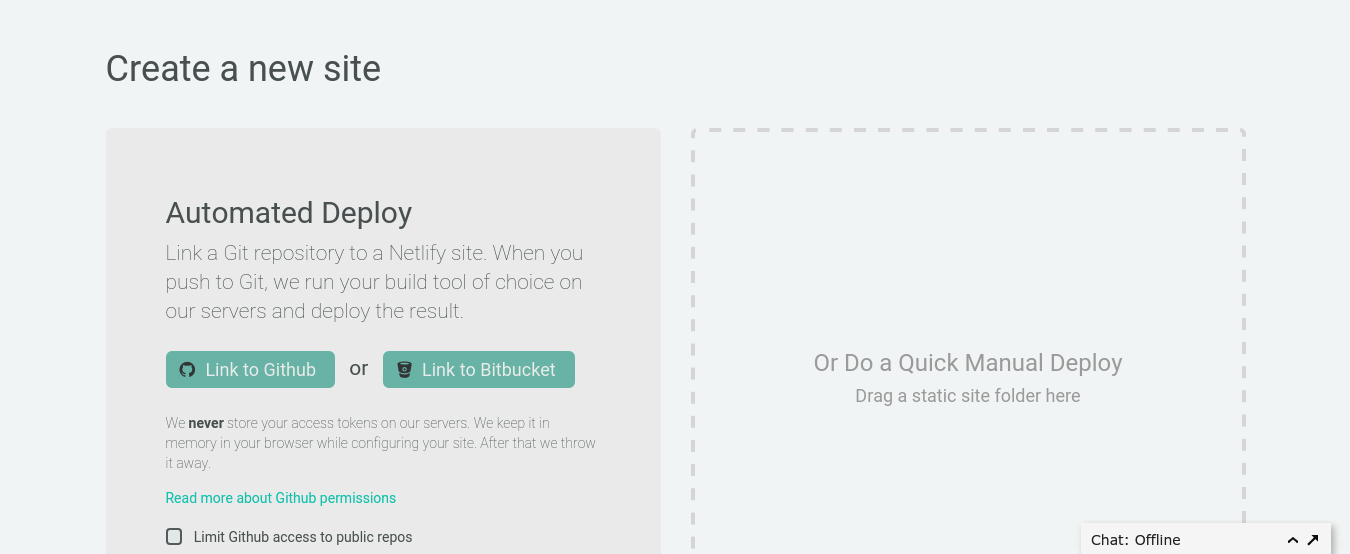
When you push to GitHub, Netlify does all the work. No more manual deploying of updates or changes!
Since your assets are hosted on GitHub, we’ll need to link Netlify to GitHub. Click “Link to GitHub”.
Step 3: Authorize Netlify
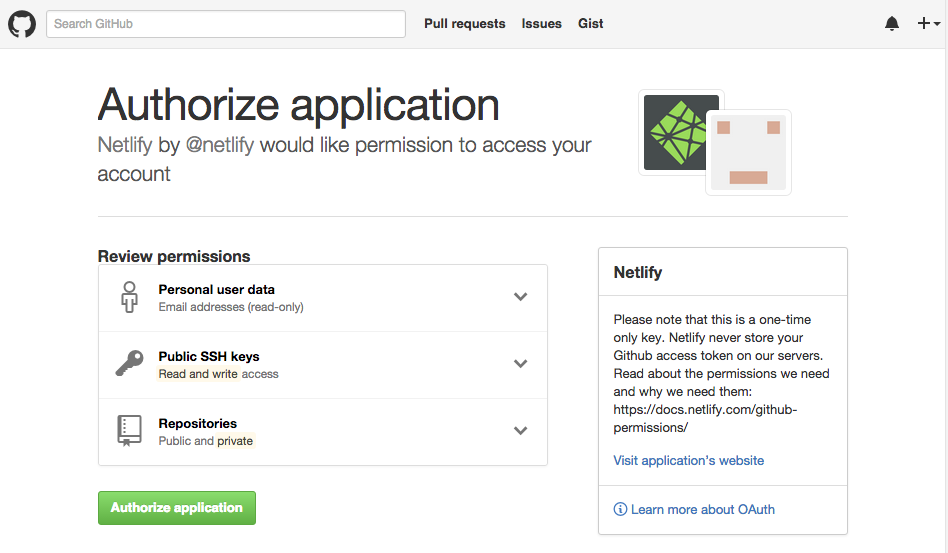
It’s time to allow Netlify and GitHub to talk to each other. Clicking the “Authorize Application” button will do just that. Like it says in the image below, Netlify doesn’t store your GitHub access token on our servers. If you’d like to know more about the permissions Netlify requests and why we need them, you can visit our documentation on Git provider permissions.
Step 4: Choose Your Repo
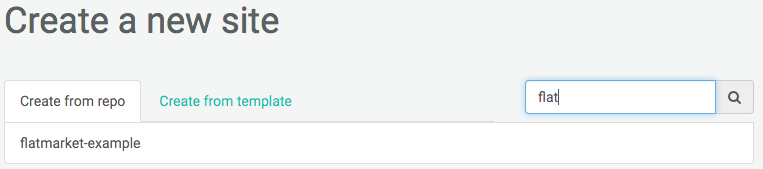
Now that you’ve connected Netlify and GitHub, you can see a list of your Git repos. There’s the flatmarket-example repo we just pushed to GitHub. Let's select it.
Step 5: Configure Your Settings
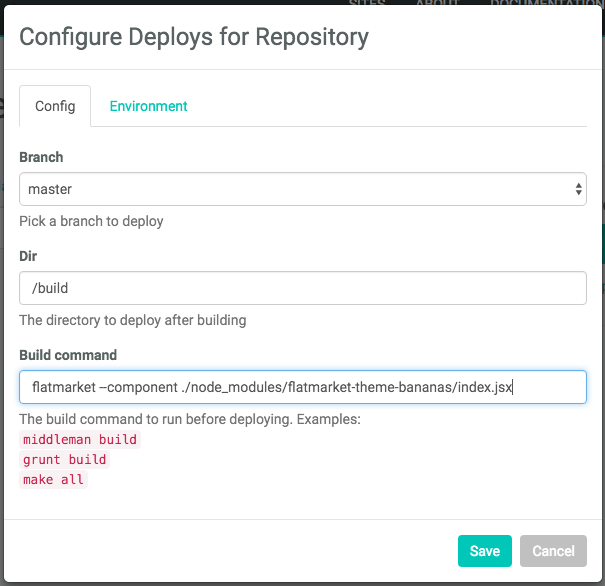
Here you can configure your options. Make sure that /build is the directory you want to deploy, and enter flatmarket --component ./node_modules/flatmarket-theme-bananas/index.jsx as your build command.
Step 6: Build Your Site
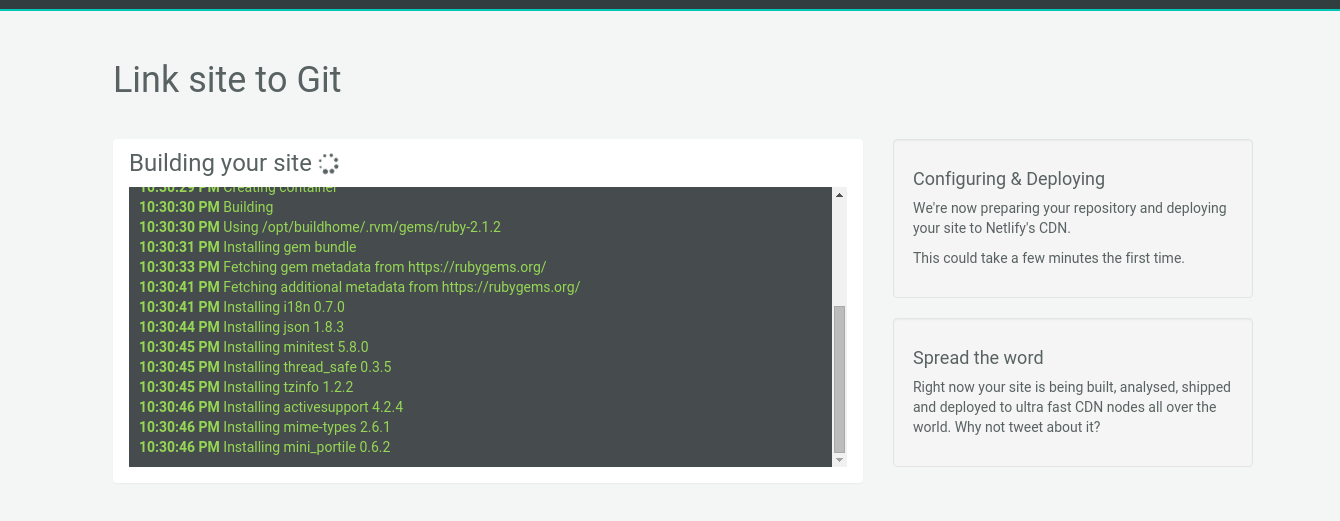
Now it’s time to sit back and relax. The first build will take some time, as Netlify gathers all the dependencies needed to build your site.
Step 7: Site Is Live
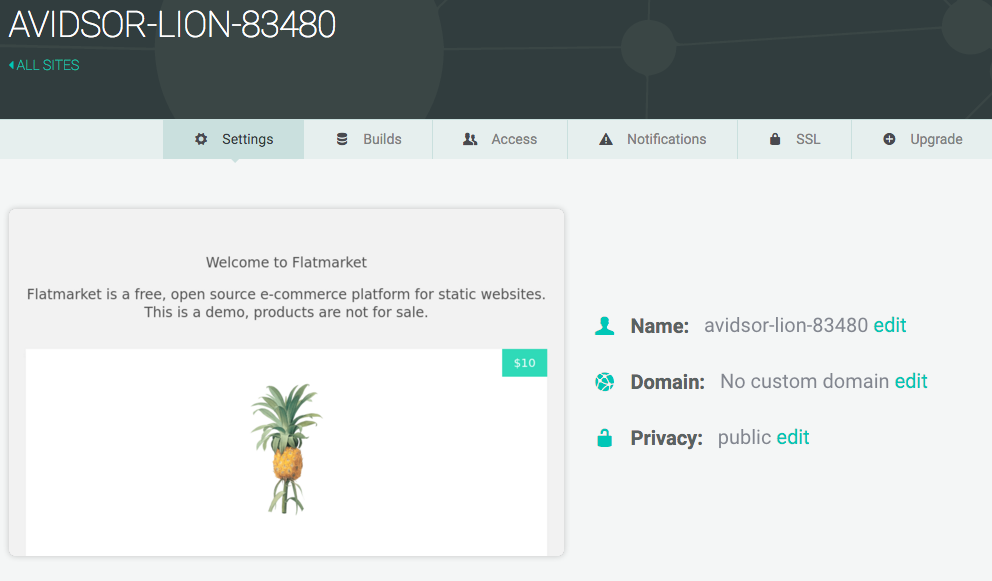
Netlify has given your site a temporary name. We're going to change it for ease of use in the rest of this tutorial.
Step 8: Name Change
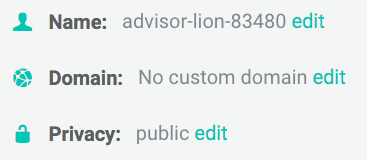
Click Edit next to the Name field.
In the resulting popup, we'll change the site name (and therefore the subdomain for the page)
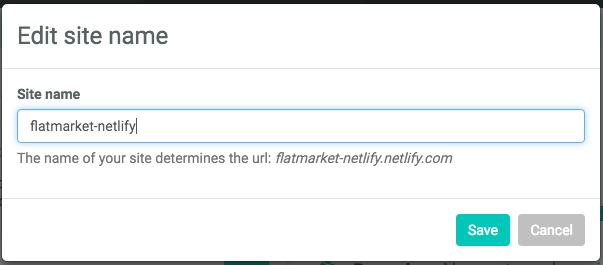
Once you've clicked save, the site has a new name.
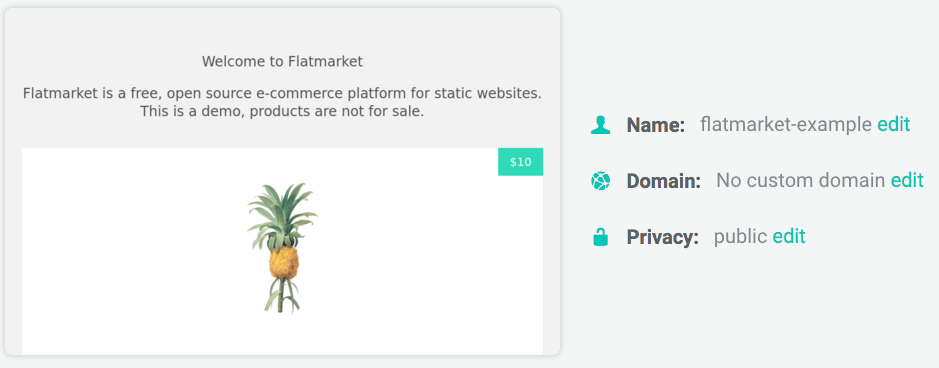
Now you can visit the site at https://flatmarket-example.netlify.com. Note the https. Any Netlify site without a custom domain can use Netlify's SSL, just by specifying https in the URL.
Since the site is up and running, now you can connect it to your Stripe account, and set up the Heroku app.
Connecting to Stripe
Log in to Stripe and select Account Settings from the Your Account dropdown

Select API Keys. You'll need to keep this window open for a while, so open a new browser tab.
Back in your Flatmarket-example directory, navigate to the src folder and open flatmarket.json in a text editor. Scroll to the bottom and look for the line "publishableKey":
Here, you'll want to go back to your Stripe browser tab and copy the contents of Test Publishable Key.
It should look something like pk_test_THISisYOURpublishableKEY with a string of numbers and letters. Make sure the entire value is contained within the double quotes and then save (but don't close) flatmarket.json.
Connecting to Heroku
Flatmarket uses a Heroku app as a middleman between your site and your Stripe account. Products and prices are checked against your flatmarket.json file, and then the app completes the handshake between your site and Stripe by comparing your account's secret key to the publishable key in flatmarket.json.
You can connect your site to a Heroku app in a few simple steps.
Visit https://github.com/christophercliff/flatmarket-server-heroku and click the Deploy to Heroku button.
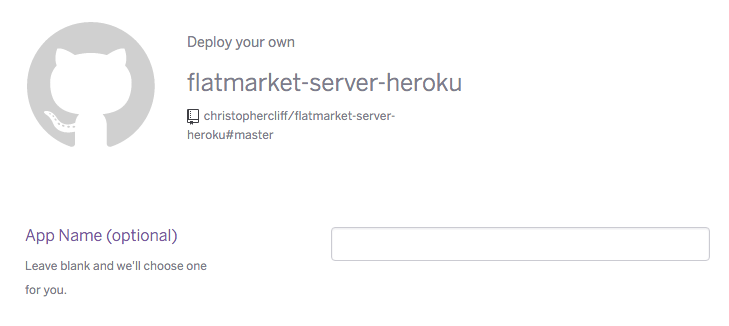
A new browser tab will open, and you'll be presented with a page to configure your new Heroku app.
After you've named your app, scroll down and enter the following variables:
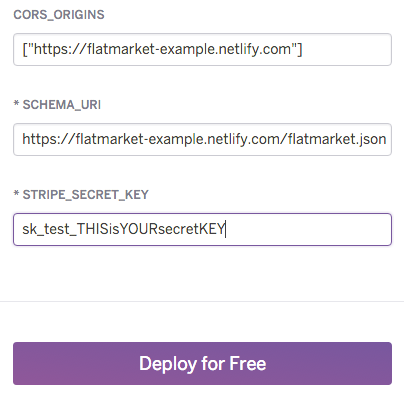
CORS_ORIGINS : ["https://flatmarket-example.netlify.com"]
The CORS_ORIGINS value should be contained within both square brackets and quotes, and must be https.
SCHEMA_URI : https://flatmarket-example.netlify.com/flatmarket.json
The SCHEMA_URI value is the location of your flatmarket.json file. In this case, it's at the URL above. This URL must also begin with https.
STRIPE_SECRET_KEY : sk_test_THISisYOURsecretKEY
Back in the Stripe browser tab, copy the value of Test Secret Key and paste that value in here.
When you are done, the variables should look like this:
Click Deploy for Free, and Heroku will build your app. Once it is finished, click View.
If you've configured the app properly, a new browser tab will open with the URL in the address bar (in this case, https://flatmarket-netlify.herokuapp.com/) and {"code":"ok"} in the browser window.
Copy the URL, then go back to flatmarket.json (which should still be open in your text editor) and look for the "host": field. Paste in the URL of your Heroku app between the quotes, like so:
"host": "flatmarket-netlify.herokuapp.com"
Now you can save and close your flatmarket.json.
Commit and push your changes to your Git repo, and Netlify will rebuild your site with the new flatmarket.json file.
You are almost done. Let's verify that it's working properly. Visit your site, and select an item to purchase. Enter in an email and shipping address, then click Payment Info
You'll see a yellow button that says Test Mode in the top right hand corner. You can click this button to get a page of test credit card numbers from Stripe. Choose a number, and then enter the credit card info. You can use any value for the expiration date and CVC number, then click Buy Now $10.
The Buy Now button should turn green with a check mark, and then you'll see a message:

This is perfectly fine, and you can ignore it. To really see if your Flatmarket install is working, you'll need to check two places.
Open your Heroku Dashboard and click on your app.
Click the three purple dots in the upper right hand corner, then select View Logs.
You should see a line that looks something like this:
2016-04-25T20:45:18.261206+00:00 heroku[router]: at=info method=GET path="/" host=flatmarket-netlify.herokuapp.com request_id=bb3a584a-3cf2-4946-bfb2-d9dd30b7d3a4 fwd="73.158.98.224" dyno=web.1 connect=0ms service=814ms status=200 bytes=599
Next, open your Stripe Dashboard. You should see a spike under both Gross volume and Successful charges.
If both Heroku and Stripe look as described, then congrats! You've successfully connected your Flatmarket eCommerce store to Netlify!


